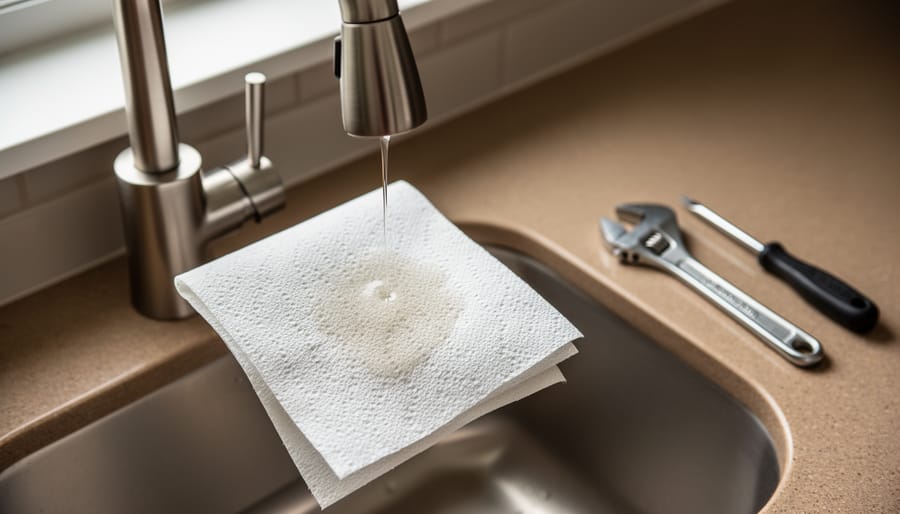
How to Fix a Leaky or Dripping Kitchen Faucet Yourself in About an Hour
Most kitchen faucet repairs are a one-hour, under-$30 job you can do yourself with a few basic hand tools. A drip usually means a worn cartridge, washer, or O-ring. A weak stream is almost always a clogged aerator. A leak at the base or handle typically comes down to a loose nut or a tired seal. None of these call for a plumber, and none require special skills.
The trick is diagnosing before you shop. Different faucets fail in different places, and buying the wrong part is the most common reason a simple fix turns into a three-trip hardware store saga. So we’ll start by matching your symptom to its likely cause. Then we’ll cover the tools, the shutoff step that keeps your cabinet dry, and a clear walkthrough for the repair itself.
We’ll also flag the few situations where calling a pro is the smarter move. And if you’re already in there anyway, there’s a quick upgrade worth considering: a touch-activated faucet that makes a messy-hands kitchen much easier to live with.
First, Figure Out What Kind of Faucet You Have and What’s Wrong With It
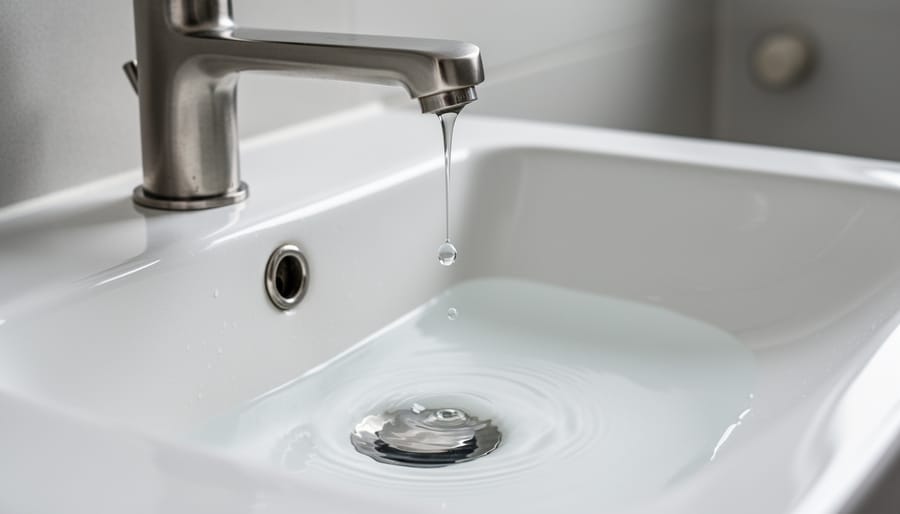
Before you buy a single part, spend ten minutes playing detective. The symptom usually points straight to the culprit, and that saves you a second trip to the hardware store.
Here’s how to match what you see to what’s likely wrong:
– Dripping spout: a worn cartridge, washer, or valve seat.
– Leak at the base of the spout: worn O-rings, which is common on swivel-style kitchen faucets.
– Weak or uneven flow: a clogged aerator, or mineral buildup inside the cartridge.
– Wobbly handle: a loose set screw or mounting nut. This one is often a 30-second fix.
Next, figure out which of the four common faucet types you have. Look at the handle, since it tells you most of what you need to know:
– Cartridge: a single lever that moves up and down and side to side, or two handles with a smooth, quiet feel. Replacing the cartridge cures most problems.
– Ball: a single lever on a rounded cap, often with a loose, slightly grindy motion. It uses small rubber seats and springs inside.
– Ceramic disc: a single lever with a smooth, heavy feel, or two handles that turn only a quarter turn. It uses a sealed cylinder of ceramic discs, and it’s usually the most durable.
– Compression: two separate handles that you crank tighter to shut off. These are the oldest style and rely on rubber washers that wear down.
If you’re not sure, a quick guide on how to Identify faucet cartridge styles can help you confirm what’s under the handle.
Finally, hunt for the brand and model number. Check the faucet body, the underside of the spout, or the supply line tags in the cabinet. Snap a photo with your phone, because exact part matching beats guessing every time.
Tools and Materials to Gather Before You Start
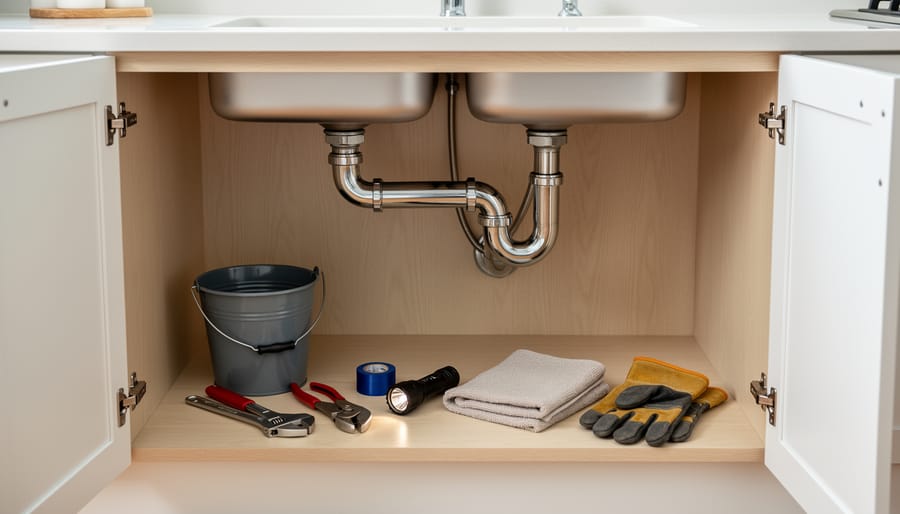
Most kitchen faucet repairs need nothing fancy. You probably own half of this already, and the rest costs less than a takeout lunch. Gather everything before you shut off the water so you’re not hunting for a tool with a dripping faucet and a disassembled handle.
- Must-have: Adjustable wrench, for loosening the packing nut and supply connections
- Must-have: Flathead and Phillips screwdrivers, for handle screws and decorative caps
- Must-have: Hex (Allen) keys, since many handles hide a small set screw
- Must-have: Replacement cartridge, O-rings, or washers that match your faucet
- Must-have: Plumber’s grease, to keep new seals smooth and watertight
- Nice-to-have: White vinegar, for dissolving mineral buildup on the aerator and parts
- Nice-to-have: Old towels and a bucket, to catch drips and protect the cabinet
- Nice-to-have: A flashlight, because under-sink cabinets are dark
Hardware stores and home centers stock most common cartridges and O-ring kits, and many manufacturers sell exact-match parts on their websites. Here’s a tip that saves a second trip: pull the worn part out first, then bring it with you to the store. Sizes vary by fraction of an inch, and holding the old piece next to the new one is the surest way to get a perfect match.
Safety Warnings and When to Stop and Call a Plumber
Before you touch a single screw, find the two shutoff valves under the sink and turn both clockwise until they stop. Then open the faucet to drain what’s left in the lines.
Next, protect your sink. Stuff a rag in the drain so a tiny screw or O-ring can’t vanish forever, and lay a towel across the basin to cushion dropped tools. Keep a second towel handy under the cabinet, because even a closed valve can leave a little water behind.
Go gently with old fittings. Corroded nuts and brittle plastic parts snap faster than you’d expect, so use steady pressure rather than muscle. If a part won’t budge, a little penetrating oil and patience beat brute force every time. It’s the same slow-and-steady mindset you’d use if you ever need to fix uneven floors: forcing things usually makes them worse.
Stop and call a plumber if you run into any of these:
– A shutoff valve that’s corroded, seized, or won’t fully close
– A cracked faucet body
– Supply-line leaks inside the cabinet that continue after tightening
– Soft, stained, or swollen cabinet wood that hints at hidden water damage
Step-by-Step: Replacing the Cartridge, O-Rings, or Washers
Fixing a Leak at the Base of the Spout
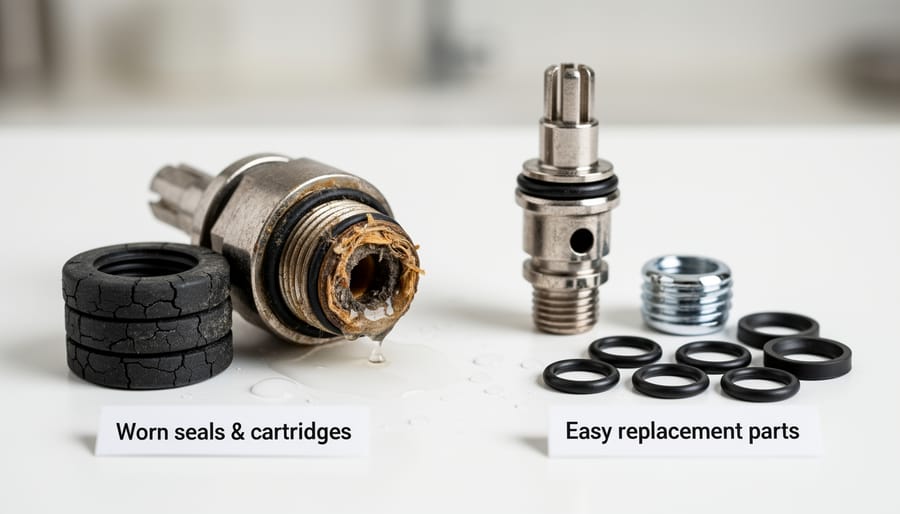
A puddle around the base of the spout usually means the O-rings are worn out. These small rubber rings sit around the spout’s stem and seal the swivel joint, and they harden over time. Here’s the quick fix:
1. Shut off the water at the shutoff valves under the sink, then open the faucet to relieve pressure.
2. Remove the handle and any decorative cap or collar so you can reach the spout.
3. Gently twist and lift the spout straight up and off the faucet body. A little wiggling helps if it’s stuck.
4. Slide the old O-rings off, noting their positions, and wipe the stem clean.
5. Match the old rings at the hardware store, then roll the new ones on and coat them lightly with plumber’s grease.
6. Press the spout back on, reassemble the handle, and turn the water back on slowly.
Swivel the spout a few times and check for dampness. If the base stays dry, you’re done.
Clearing Low Water Pressure From a Clogged Aerator
Before you replace any parts, try this five-minute fix first. Weak flow is often just mineral buildup or debris clogging the aerator, the little screen screwed onto the tip of the spout.
1. Unscrew the aerator by hand, or wrap it in a towel and use pliers if it’s stuck, turning it counterclockwise.
2. Take apart the screen and washers, laying them out in order so you can reassemble them correctly.
3. Soak the pieces in white vinegar for 15 to 30 minutes, then scrub gently with an old toothbrush.
4. Rinse everything well, put it back together, and screw it on snugly.
Run the water to flush out any loosened grit. If the stream is strong again, you’re done.
Smart Upgrades While You’re Under the Sink
While the faucet is apart and the cabinet is open, you’re already halfway to an upgrade. A few small swaps can make your kitchen smarter without a full remodel:
- Touchless or motion-sensor faucet: wave a hand to start the water, which keeps raw-chicken hands off the handle.
- Pull-down sprayer: makes rinsing big pots and the sink basin much easier.
- Low-flow aerator: a $5 screw-on part that cuts water use without changing how the stream feels.
- Pull-out spray head swap: some brands sell replacement heads that fit your existing hose.
Before you buy anything, check your sink’s hole count. Most kitchen sinks have one to four pre-drilled holes, and a single-hole faucet can usually cover a multi-hole sink with a deck plate (a flat cover that hides the extra holes). Going the other direction, from one hole to several, rarely works.
Touchless models also need a nearby outlet or battery pack under the sink, so look at your cabinet space first. If you’re happy with the faucet you have, the aerator is the easiest upgrade of the bunch.
How to Test Your Repair and What to Do If It Still Drips
Once everything’s back together, turn the water supply on slowly and let the faucet run. Switch between hot and cold, and move the handle through its full range. Then get under the sink with a flashlight and wipe the supply lines, connections, and the base of the faucet with a dry paper towel. Even a tiny bit of moisture will show up on the paper.
Check once more the next day. Slow leaks love to hide until the water has had time to collect.
If it’s still dripping, don’t panic. The usual culprits are the wrong replacement part, a cartridge that isn’t fully seated, or a worn valve seat inside the faucet body. Pull the handle off again, make sure the cartridge clicks down flat, and compare it to your old one side by side. A pitted valve seat can sometimes be resurfaced, but it’s often a sign the faucet is tired.
Here’s my rule of thumb: if you’ve repaired the same faucet twice, or the body is corroded, replacing it makes more sense. It’s also a nice excuse to line up a bigger project. Plenty of folks pair a new faucet with a weekend kitchen DIY to refresh the whole space at once.
Kitchen Faucet Repair FAQs
How much does a plumber charge compared to doing it myself?
A DIY cartridge or O-ring swap usually costs $5 to $20 in parts. A plumber typically charges a service-call fee plus labor on top of that, so the same fix often lands well above the part price. If you can follow the steps above, you’ll keep most of that money in your pocket.
Why does my faucet only drip when the hot water is on?
That points to a worn part on the hot side, often a hot-side seal or the cartridge itself. Hot water tends to wear rubber seals faster, so the hot side can fail first. Replace the cartridge or seals and the drip should stop.
How often should I replace a faucet cartridge?
There’s no fixed schedule. Replace it when you notice drips, a stiff handle, or weak flow. Hard water can shorten its life, so a quick vinegar soak on the aerator now and then helps keep things running smoothly.
Can I fix a faucet without shutting off the main water?
Yes, as long as you close the shutoff valves under the sink first. Turn the small valves on the hot and cold lines clockwise, then open the faucet to release any leftover pressure. If those valves are seized or won’t hold, that’s your cue to shut off the main water or call a plumber.
Still wondering whether a repair is worth it? If your faucet is cracked, badly corroded, or you’ve already replaced the same part more than once, a new faucet usually makes more sense. Otherwise, a simple fix is the budget-friendly route, and with a little practice you can repair like a pro around the rest of the house too.
A small repair like this can save you a plumber’s fee and give you a real boost of confidence. Once you’ve swapped a cartridge or cleared an aerator, that drip under the sink stops feeling like a mystery and starts feeling like a manageable job.
If you’re ready to keep the momentum going, the next articles in our DIY Faucet and Toilet Repairs series walk through more fixes with the same friendly, step-by-step approach. And if you’re curious about simple DIY repairs beyond the bathroom and kitchen, we’ve got you covered there too. Grab your tools and tackle your next home project with Accent Interiors.