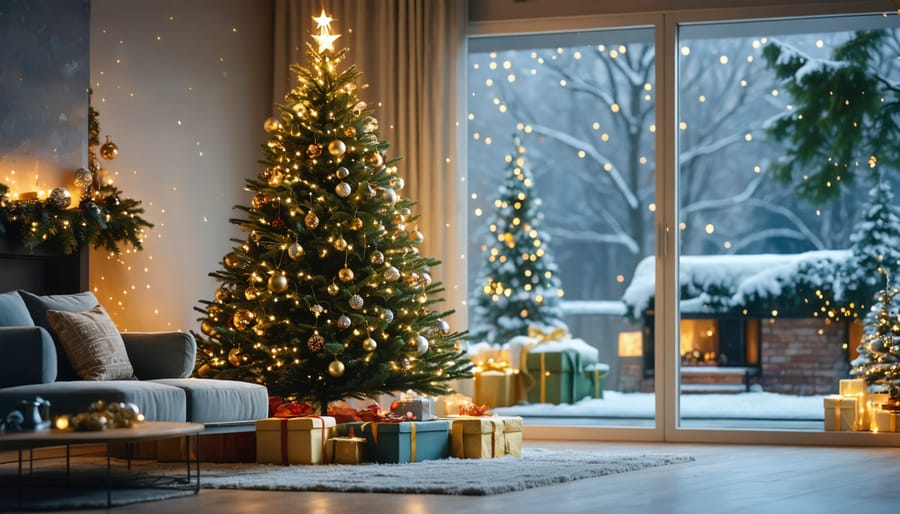
Perfect Christmas Tree Lighting Made Simple (Even for Beginners)
Transform your Christmas tree into a mesmerizing holiday centerpiece with strategic lighting that enhances its natural beauty. Start at the trunk and work outward, wrapping lights in tight, consistent circles to create depth and eliminate dark spots. Professional decorators recommend using 100 lights per foot of tree height – a 6-foot tree needs approximately 600 lights for optimal brilliance. Position warm white LED lights close to the trunk for a natural glow that radiates through the branches, then layer additional strands toward the tips for dimensional sparkle. This inside-out technique, combined with proper spacing and secure fastening, ensures your tree becomes a stunning focal point that captures the magic of the season while maintaining energy efficiency and safety throughout the holiday celebrations.
Essential Tree Lighting Supplies
Choosing the Right Lights
When selecting lights for your Christmas tree, start by determining the right number of lights for your tree size. A good rule of thumb is 100 lights per foot of tree height for a full, bright appearance.
LED lights are increasingly popular due to their energy efficiency and cooler operating temperature, making them safer for both real and artificial trees. They’re available in “warm white” for a traditional glow or “cool white” for a more modern look. For color enthusiasts, multi-colored LED strings offer vibrant, long-lasting illumination.
Consider light strand types: traditional mini lights work well for most trees, while C6 or C7 bulbs create a classic, vintage feel. If you’re tech-savvy, smart LED strings can be controlled via smartphone apps, allowing you to adjust colors and create dynamic lighting patterns.
For tree height up to 6 feet, choose 600 lights minimum. Larger trees of 7-8 feet need 800-1,000 lights for optimal coverage. Remember to have extra strings on hand for replacements or additional coverage where needed.

Safety Equipment and Tools
Before starting your tree lighting project, gather all necessary safety equipment and tools. Keep a sturdy stepladder or folding stool nearby for reaching higher branches safely. Essential tools include work gloves to protect your hands from sharp needles and wire ends, scissors or wire cutters for trimming light strings, and a power strip with surge protection. You’ll also need UL-listed extension cords rated for indoor use. Have a light tester handy to check for faulty bulbs, and keep a first-aid kit within reach. For pre-lit trees, consider having spare fuses and replacement bulbs available. If working with older light sets, use a polarized adapter to ensure proper electrical connection. Remember to clear your workspace of tripping hazards and keep children and pets away during installation.
Pre-Lighting Preparation
Testing Your Lights
Before stringing your lights on the tree, take a few minutes to test them properly. Lay out each strand on a flat surface and plug them in to check for any burnt-out bulbs or faulty sections. Give the wires a gentle inspection for any signs of fraying, exposed wiring, or damaged insulation. Replace any questionable strands – it’s better to be safe than sorry.
For pre-lit trees, plug in each section and look for dark spots. Many modern LED sets allow you to replace individual bulbs, so keep spare bulbs handy. If you’re using older lights, test them with a light tester tool to identify problem areas quickly. Remember to check your extension cords too, as these are crucial for safely powering your display.
When testing outdoors, ensure all lights and connections are rated for exterior use to prevent safety hazards.
Tree Positioning and Power Source Planning
Before stringing a single light, choose your tree’s location carefully. Position it near a power outlet to avoid running extension cords across high-traffic areas. If using an outlet across the room, secure cords along walls or under rugs designed for this purpose. Aim for a corner or wall space that allows viewers to appreciate the tree from multiple angles.
Consider rotating your tree to find its best side, ensuring any gaps face the wall. Leave enough space around the tree for decorating – typically 2-3 feet on all accessible sides. For pre-lit trees, test all lights before positioning. For traditional trees, locate your power source first and plan your lighting strategy around it.
Remember to keep your tree away from heat sources like fireplaces, radiators, or heating vents to prevent dry-out and fire hazards. This also helps maintain your lights’ longevity and keeps your tree looking fresh longer.
Step-by-Step Lighting Process
Core Tree Lighting Technique
Start by testing your lights before wrapping them around the tree. Once verified, begin with the top-to-bottom lighting technique, which professional decorators prefer for even distribution. Plug in your first strand at the bottom of the tree, closest to your power source.
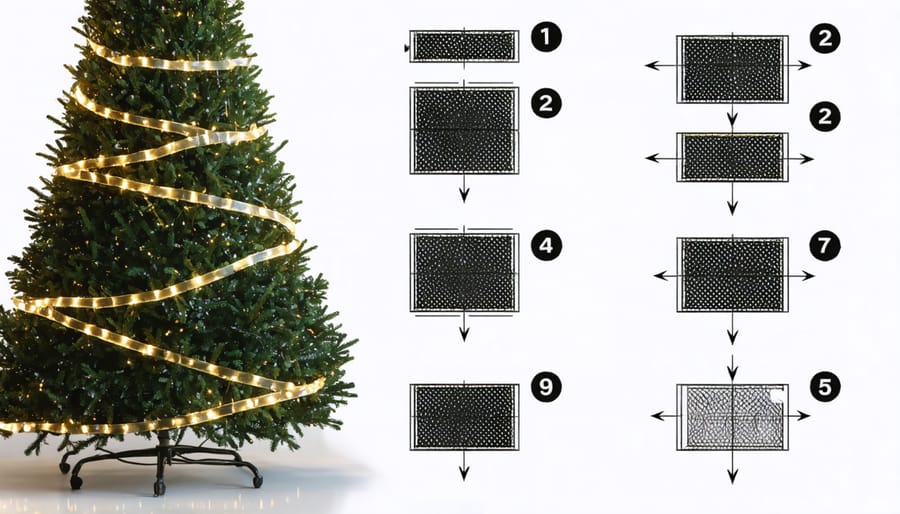
Working your way up, weave the lights in a zigzag pattern around the trunk, moving deeper into the branches as you go higher. Keep the lights about 6 inches apart for consistent coverage. When you reach a branch tip, loop back toward the trunk before moving upward again.
For artificial trees, follow each tier’s branch pattern. For real trees, work around natural gaps and fuller sections. Always step back every few feet to check your progress and ensure even distribution. If you notice any dark spots, simply adjust the lights in that section before continuing upward.
Remember to leave enough slack in the strands to allow for minor adjustments, and avoid pulling the wires too tight, which can create awkward angles and potential safety hazards.
Branch and Depth Illumination
To create a stunning Christmas tree with depth and dimension, start by pushing lights deep into the branches, working from the trunk outward. This technique, known as the “push-in method,” ensures your tree appears to glow from within rather than having lights only on the surface. Work in small sections, placing lights about 6-8 inches apart, and alternate between pushing lights deeper into the branches and positioning some closer to the tips.
For fuller-looking trees, focus on illuminating empty spaces and dark spots. Position lights at varying depths – some nestled close to the trunk, others midway through branches, and a few near the outer edges. This layered approach creates a three-dimensional effect that makes your tree appear fuller and more luxurious.
When working around the back of the tree, don’t skimp on lights even if it’s against a wall. Complete illumination ensures a consistent glow from all angles and prevents dark patches that can make your tree look uneven. Pay special attention to gaps between branches, using lights to create visual bridges that give the impression of fuller foliage.
Remember to step back frequently and view your work from different angles to identify any areas that need additional lighting or adjustment.

Professional Finishing Touches
To achieve that coveted professional finish, start by stepping back several feet from your tree to assess the overall balance of lights. Adjust any obvious dark spots or overly bright areas until you achieve a harmonious glow. Consider incorporating smart Christmas tree lighting to create programmable effects and easily control brightness levels.
Layer your lighting by mixing white lights with subtle warm-colored strands to add depth and sophistication. Place smaller, twinkling lights deeper within the branches, while using brighter, steady lights toward the outer edges. This creates a mesmerizing three-dimensional effect that draws the eye inward.
Use light clips or specialized hangers to secure wires invisibly along branches instead of wrapping them. This technique creates a cleaner look and prevents unsightly cord visibility. For artificial trees, gently bend the tips of branches to conceal wires and create natural-looking curves.
Don’t forget to illuminate the tree’s crown properly. Add a cluster of lights at the very top, working them slightly downward to eliminate any dark gaps near your tree topper. Finally, plug all light strands into a single timer or smart plug for convenient, synchronized control.
For the ultimate professional touch, consider placing a large mirror behind your tree to amplify the light and create the illusion of additional depth. This trick is especially effective in corners or against walls, making your display appear fuller and more luxurious.
Lighting your Christmas tree doesn’t have to be complicated, and with these techniques, you’ll create a magical holiday centerpiece that brings joy to your home. Remember to start with a thorough plan, test your lights before hanging them, and work methodically from the inside out. Whether you chose traditional incandescent bulbs or modern LED strings, the key is consistent spacing and secure attachment. Don’t forget to step back periodically to check your progress and make adjustments. With practice, you’ll develop your own style while maintaining these core principles. Now it’s time to plug in those lights and enjoy the warm, festive glow of your beautifully lit Christmas tree. Happy decorating!
