Fire-Resistant Walls That Actually Stop Flames (Not Just Slow Them Down)
Install Type X drywall on both sides of wall studs to achieve a minimum one-hour fire rating – this gypsum-based material contains special fibers that slow fire spread and costs roughly $15-20 per sheet at most home centers. Upgrade to Type C drywall for two-hour protection in high-risk areas like garages or near fireplaces, where building codes often mandate enhanced fire resistance.
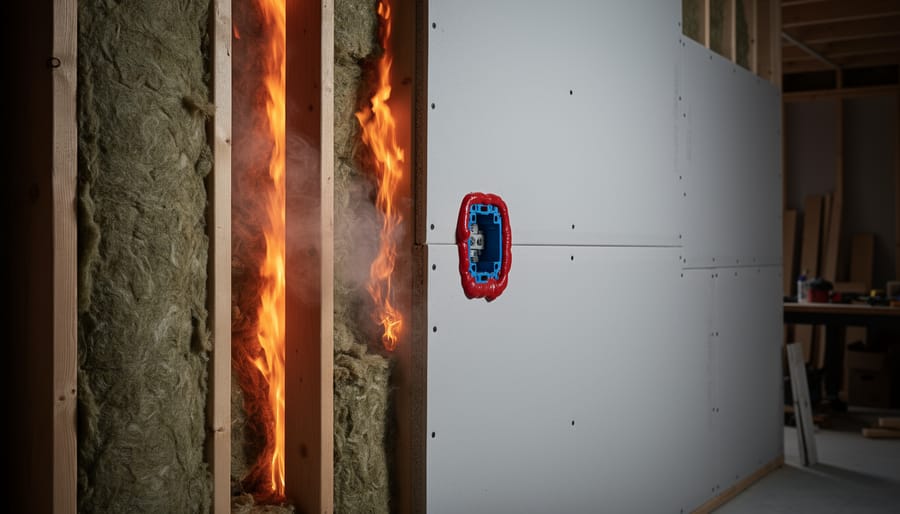
Apply fire-rated sealant around all electrical outlets, light switches, and penetrations in your fire-resistant walls, since even the smallest gaps can compromise your protection. These caulks withstand temperatures up to 2,000 degrees Fahrenheit and prevent flames from traveling through wall cavities where standard insulation might ignite.
Fill wall cavities with mineral wool insulation rather than traditional fiberglass – mineral wool won’t burn at temperatures below 1,800 degrees and actually improves your wall’s fire rating while providing superior soundproofing. This dual-purpose upgrade typically adds only $0.50-1.00 per square foot to construction costs.
Understanding fire-resistant wall construction isn’t just about meeting building codes – it’s about creating crucial escape time during emergencies. Every fire-resistant wall you build adds 30-120 minutes of protection, giving your family time to evacuate safely and reducing property damage by up to 70% according to fire safety studies. Whether you’re finishing a basement, adding a garage, or simply upgrading existing walls, the materials and techniques are surprisingly accessible for confident DIYers. The investment pays dividends in insurance savings, increased home value, and most importantly, peace of mind knowing your home has built-in defenses against one of the most devastating disasters homeowners face.
What Makes a Wall Actually Fire-Resistant?
Fire resistance isn’t about making walls completely fireproof—it’s about buying precious time. When we talk about fire-resistant walls, we’re really discussing how long a wall can stand up to flames before it fails. This timing can mean the difference between everyone getting out safely and a tragedy.
Fire ratings tell you exactly how long a wall can withstand fire exposure. You’ll see these expressed in minutes: 30-minute, 60-minute, 90-minute, and even up to 4-hour ratings. A 90-minute rated wall, for example, should contain fire and prevent it from spreading to the other side for at least an hour and a half. These ratings come from rigorous testing where walls face intense heat and flames under controlled conditions.
The secret lies in understanding combustible versus non-combustible materials. Combustible materials like standard wood studs will eventually burn, while non-combustible materials like steel studs and concrete won’t catch fire. However, even non-combustible materials can fail structurally when exposed to extreme heat, which is why the entire wall assembly matters.
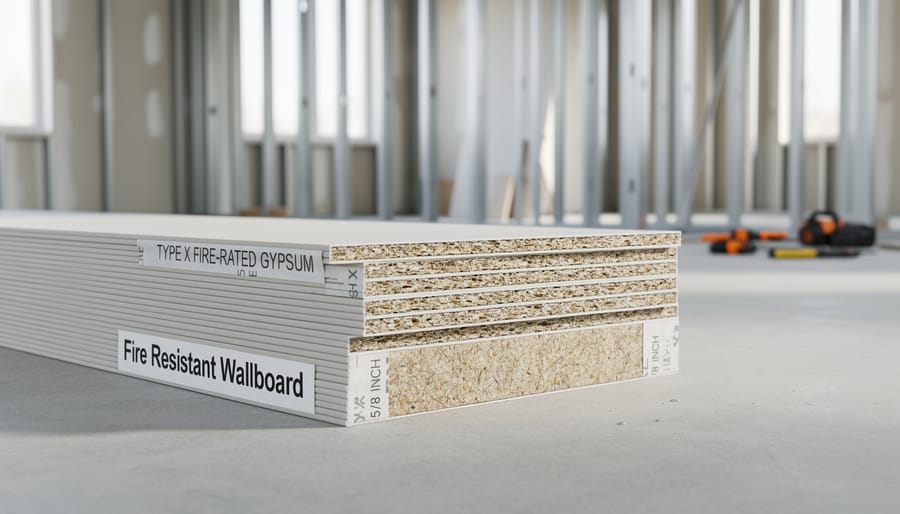
This brings us to Type X drywall, the workhorse of fire-resistant construction. Unlike regular drywall, Type X contains special glass fibers within the gypsum core that hold the panel together even when exposed to flames. It’s typically 5/8-inch thick compared to standard 1/2-inch drywall. When heat hits Type X drywall, water molecules within the gypsum turn to steam, actually helping to cool the wall and slow fire progression.
Fire-resistant walls work on two fronts: they contain flames from spreading and they block heat transfer. A wall might successfully prevent flames from breaking through but still allow enough heat transfer to ignite materials on the opposite side. That’s why proper installation, including sealed joints and penetrations, is crucial. Even the smallest gap can compromise your wall’s fire rating and put your home at risk.
The Best Fire-Resistant Wall Materials for Your Home
Type X and Type C Drywall
When you’re looking to upgrade your wall’s fire protection, Type X and Type C drywall are your go-to options. These aren’t your standard sheets of gypsum board—they’re specifically engineered to stand up to flames and slow fire spread in your home.
Type X drywall is the most common fire-rated option you’ll find at your local home improvement store. What makes it special? The manufacturers add special glass fibers and other additives to the gypsum core, which helps the board hold together longer when exposed to intense heat. A standard 5/8-inch Type X panel typically provides a one-hour fire rating, meaning it can resist fire penetration for about an hour under test conditions.
Type C drywall takes things up a notch with even more fire-resistant additives and vermiculite in the core. It’s denser and offers better fire protection than Type X, though it comes at a slightly higher price point. You’ll often see Type C specified in commercial buildings, but it’s becoming more popular in residential applications too.
Where should you use these fire-rated boards? Building codes typically require them in garages (especially the wall shared with your living space), between attached dwelling units like duplexes or townhomes, and around furnace rooms. Many homeowners also choose to install them in kitchens for extra peace of mind.
Cost-wise, expect to pay about 20-30% more than standard drywall. A sheet of Type X typically runs between fifteen to twenty-five dollars, compared to ten to fifteen dollars for regular drywall—a small investment for potentially life-saving protection.
Fiber Cement Board
Fiber cement board stands out as one of the most reliable durable materials for fire-resistant interior walls. Made from a mixture of cement, sand, and cellulose fibers, this non-combustible material won’t ignite or contribute to flame spread, making it an excellent choice for high-risk areas like garages, utility rooms, and kitchen backsplashes.
What makes fiber cement board particularly appealing is its dual-purpose functionality. Beyond fire resistance, it stands up remarkably well to moisture, impact, and everyday wear. You can install it directly over existing studs, though proper planning is essential since the boards are heavy and require two people for handling. Most panels come in 4×8 or 4×10 sheets and can be cut with specialized shears or a circular saw equipped with a fiber cement blade.
For interior applications, fiber cement board works wonderfully as a substrate behind tile or as a paintable surface when properly sealed. It’s ideal for creating fire barriers between living spaces and attached garages, or for reinforcing walls around wood-burning stoves and fireplaces. The installation requires moisture-resistant screws spaced according to manufacturer guidelines, and seams should be properly taped and finished for a seamless appearance.
Concrete and Masonry
Concrete blocks, brick, and stone are time-tested champions when it comes to fire resistance. These masonry materials won’t burn, and they’re incredibly effective at containing flames and heat. Concrete blocks can withstand temperatures exceeding 1,800°F for several hours, making them ideal for garages, utility rooms, or basement walls where fire protection is a priority.
Brick and stone bring both safety and stunning visual appeal to interior spaces. Exposed brick walls have become a sought-after design feature in modern homes, offering that perfect industrial-chic vibe while quietly providing excellent fire protection. Natural stone creates a rustic, elegant focal point that doubles as a fire barrier.
For DIYers, installing concrete blocks requires basic masonry skills, mortar, and proper tools. The process involves laying blocks in staggered patterns with mortar joints, though it’s labor-intensive. Brick and stone installations are more complex and often benefit from professional help to ensure structural integrity.
These materials work best for accent walls, around fireplaces, in basements, or separating attached garages from living spaces. While they’re heavier and require solid foundations, their durability and zero-maintenance fire resistance make them worthwhile investments. Plus, you can leave them exposed for character or finish them with plaster or drywall for a traditional look.
Fire-Resistant Coatings and Paints
Adding an extra layer of defense to your existing walls doesn’t always require major construction. Fire-retardant coatings and intumescent paints offer a practical way to boost fire protection through simple application.
Intumescent paints work like a fire-activated shield. When exposed to high heat, they expand dramatically—up to 100 times their original thickness—forming an insulating char layer that protects the surface beneath. This buys precious time during a fire, slowing the spread and giving occupants more opportunity to escape safely.
These coatings are particularly useful for enhancing steel beams, wooden structures, and drywall. You’ll find options in clear finishes or paintable bases that work with your existing décor. Application is straightforward with brush, roller, or spray methods, making them accessible for DIY projects.
However, keep your expectations realistic. Fire-resistant coatings enhance protection but aren’t standalone solutions. They work best as part of a comprehensive fire safety strategy alongside proper fire-rated materials. Most products require periodic reapplication and won’t replace the need for properly constructed fire-resistant walls in high-risk areas. Always check product certifications and follow manufacturer guidelines for optimal performance.
Where Fire-Resistant Walls Matter Most in Your Home
Not all walls in your home face the same fire risk. Some areas are naturally more vulnerable to flames and heat, making them prime candidates for fire-resistant upgrades. By focusing your efforts on these high-priority zones, you’ll get the biggest safety payoff for your investment.
Let’s start with your garage. This space often houses vehicles, power tools, paint cans, and other flammable materials. A fire starting here can quickly spread to your living areas, making garage walls that connect to your home absolutely critical for fire protection. Building codes typically require at least 5/8-inch Type X drywall on these walls, and many homeowners go a step further with additional layers or cement board.
Your kitchen presents another obvious risk zone. With open flames, hot cooking surfaces, and electrical appliances all in one place, kitchen fires are incredibly common. Installing fire-resistant materials behind your stove and on surrounding walls creates a protective barrier that can contain small grease fires before they become disasters. Cement board topped with tile makes an excellent backsplash that’s both beautiful and functional.
If you live in a townhome, duplex, or any attached housing, the shared walls between units deserve special attention. A fire in your neighbor’s home shouldn’t mean the end of yours. These party walls should have robust fire ratings, often requiring multiple layers of fire-rated drywall or specialized assemblies that can resist flames for one to two hours.
Walls surrounding fireplaces and wood stoves need heat-resistant protection. Even with proper clearances, these areas get extremely hot during use. Non-combustible materials like stone veneer, brick, or metal panels not only look great but provide essential protection.
Finally, don’t overlook utility rooms housing your water heater, furnace, or electrical panel. These areas contain potential ignition sources and should be enclosed with fire-resistant walls to prevent a mechanical failure from turning into a house fire. A simple upgrade to Type X drywall in these spaces offers tremendous peace of mind without breaking the bank.
DIY Fire-Resistant Wall Installation: What You Can Handle
Installing Type X drywall is one of those DIY projects that’s actually more manageable than you might think, though it does require attention to detail and respect for building codes. Let’s walk through what you can tackle yourself and when it makes sense to bring in a pro.
First, gather your essential tools: a drywall T-square, utility knife, drill with screw bits, joint compound, tape, and of course, your Type X drywall sheets. These fire-resistant panels are heavier than standard drywall due to their special gypsum core with glass fibers, so consider recruiting a helper for the lifting.
Start by measuring your wall space carefully and cutting the Type X panels to size. Score the paper face with your utility knife along the T-square, snap the panel backward, then cut through the back paper. When hanging, always position panels vertically for maximum fire resistance and stagger the seams between layers if you’re doing a double installation. Drive screws every 12 inches into studs, ensuring they’re slightly recessed but not breaking the paper surface.
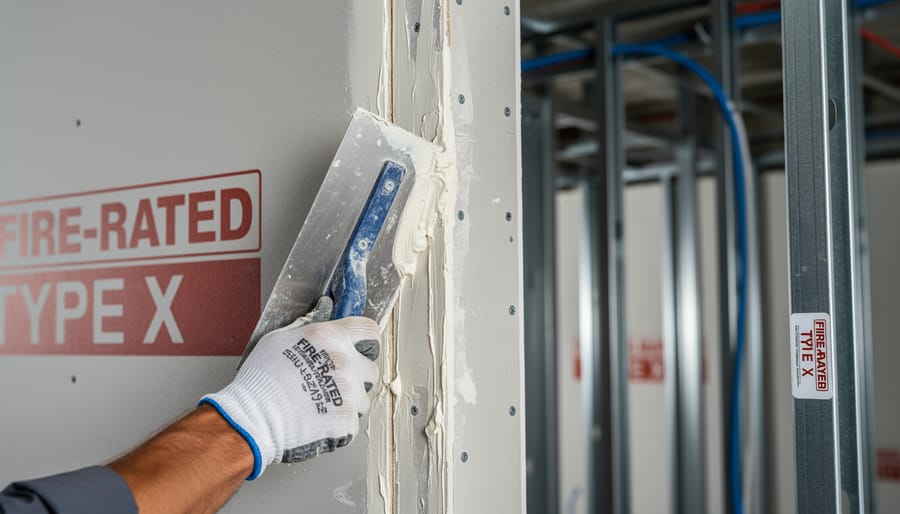
Here’s where proper sealing becomes critical for fire resistance. Every joint, corner, and gap needs attention. Apply joint tape over seams, then cover with multiple thin coats of joint compound rather than one thick layer. This creates a smoother finish and maintains the fire-resistant integrity of your wall system. Don’t forget to seal around electrical boxes and any penetrations with fire-rated caulk, not regular caulk. This step is essential for meeting building codes.
Speaking of codes, verify your local requirements before starting. Most jurisdictions require permits for fire-rated wall installations, especially in garages or between attached living spaces. The inspection isn’t something to skip because improperly installed fire-resistant walls won’t perform when you need them most.
When should you call a professional? If you’re dealing with load-bearing walls, complex layouts with multiple corners, or installations requiring specific fire ratings for commercial properties, that’s professional territory. Similarly, if your project involves HVAC penetrations or fire-rated door installations, the stakes are too high for learning on the job.
Remember, building inspectors will check your work, so following manufacturer specifications isn’t optional. Keep all product documentation showing your materials meet required fire ratings, and don’t mix standard drywall with Type X in rated assemblies. Taking shortcuts defeats the entire purpose of fire-resistant construction and could invalidate your homeowner’s insurance coverage.
Design Ideas That Don’t Sacrifice Style for Safety
Gone are the days when fire safety meant sacrificing your home’s aesthetic appeal. Today’s fire-resistant walls offer stunning design possibilities that seamlessly blend protection with style.
Fire-rated drywall serves as the perfect canvas for virtually any design vision. You can paint it any color, apply textured finishes, or even hang wallpaper just like standard drywall. The beauty is that these wall finishing options maintain their fire-resistant properties while giving you complete creative freedom. Consider a bold accent wall in your bedroom or a textured finish in your living room—the fire protection works quietly behind the scenes.
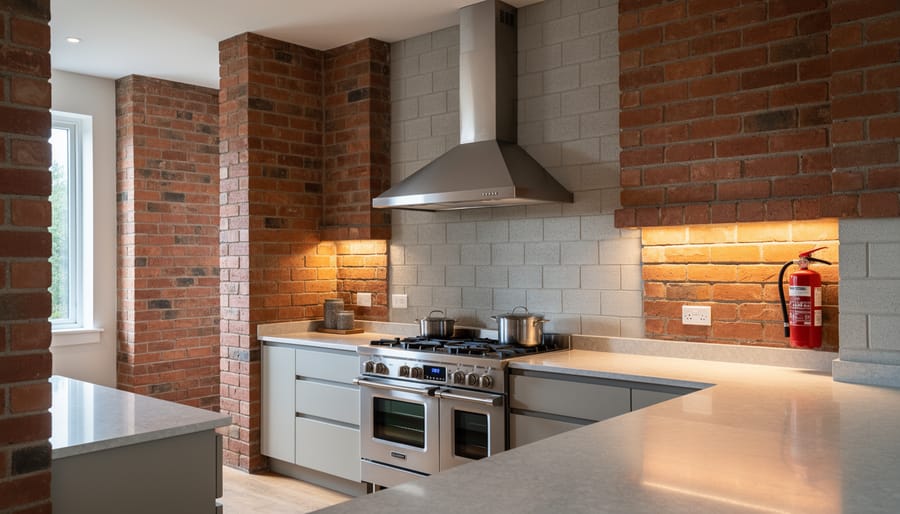
For those drawn to contemporary or industrial aesthetics, exposed concrete and brick walls deliver both safety and serious style points. These naturally fire-resistant materials create striking focal points that need minimal finishing. Sealed concrete offers a sleek, modern look perfect for loft-style spaces, while exposed brick brings warmth and character to any room. Both options have become increasingly popular in residential design, proving that fire safety can actually enhance your home’s visual appeal.
The key to successful integration is thinking about fire-resistant materials during your initial design phase rather than as an afterthought. Type X drywall can be installed in the same locations as regular drywall, so your room layouts and design plans don’t need to change. You can still incorporate wood trim, decorative moldings, and architectural details—just ensure they’re properly installed over your fire-rated base.
Whether you’re renovating a single room or designing an entire home, fire-resistant walls adapt to your style preferences while providing invaluable peace of mind. Safety and beauty aren’t mutually exclusive; they’re the perfect partnership.
Cost Breakdown: Budgeting for Fire-Resistant Walls
Understanding the financial investment for fire-resistant walls helps you make informed decisions that protect both your family and your budget. Let’s break down what you can expect to spend.
Material costs vary significantly based on your chosen approach. Type X drywall, the most common fire-resistant option, runs between $10-15 per sheet, compared to $8-12 for standard drywall. Fire-rated gypsum board costs approximately $12-20 per sheet. If you’re considering fiber cement board for exterior applications, expect to pay $15-30 per sheet. Intumescent paint adds another $50-100 per gallon, covering roughly 200 square feet.
For a typical 12×12 room, material costs alone range from $150-400 depending on your selections. Professional installation adds $1.50-3.50 per square foot for labor, bringing total costs to $600-1,200 for that same room.
The DIY route can cut expenses by 40-60 percent if you’re comfortable with basic construction skills. You’ll need proper tools and careful attention to sealing joints and maintaining fire ratings, but the savings are substantial. However, professional installation ensures compliance with local building codes and optimal fire protection.
Consider the return on investment: fire-resistant walls can reduce homeowners insurance premiums by 5-15 percent annually. They also increase property value, with potential buyers willing to pay 3-5 percent more for homes with enhanced safety features. Most homeowners recoup their investment within 5-7 years through insurance savings alone, making fire-resistant walls a smart financial decision beyond the obvious safety benefits.
Common Mistakes That Compromise Fire Resistance
Even the best fire-resistant materials won’t protect your home if they’re installed incorrectly. Unfortunately, several common mistakes can significantly compromise the fire protection you’re counting on. Understanding these errors helps you avoid them whether you’re tackling a DIY project or supervising contractors.
One of the most critical mistakes is improper sealing around wall edges and joints. Fire-rated walls need fire-rated sealant at every connection point. Regular caulk or construction adhesive simply won’t hold up under extreme heat. Always use products specifically labeled for fire-rated assemblies, and follow manufacturer guidelines for application thickness and coverage.
Using the wrong fasteners is another frequent problem. Fire-rated drywall requires screws at specific intervals, and not all screws are created equal. Standard drywall screws may not provide adequate holding strength during a fire. Check your building codes and product specifications for exact requirements on screw type, length, and spacing.
Gaps and penetrations present serious vulnerabilities. Electrical outlets, light fixtures, pipes, and ventilation ducts all create openings that can allow fire to spread between rooms. Each penetration must be properly fire-stopped using approved materials like intumescent caulk, fire-rated putty pads, or specially designed collars. Don’t skip this step, even for small openings.
Mixing non-rated materials with fire-rated ones creates weak points in your fire protection system. Just as choosing safe materials matters for health, consistency matters for fire safety. Using standard insulation instead of fire-rated options or combining different wall systems can compromise the entire assembly’s rating.
Take time to verify every component meets fire-resistance standards, and document your installation process. These extra steps ensure your fire-resistant walls perform exactly as intended when it matters most.
Fire-resistant walls aren’t just a construction feature—they’re a critical line of defense that can save lives and protect everything you’ve worked hard to build. When fire strikes, every minute matters, and properly constructed fire-resistant walls give you and your family precious time to evacuate safely while minimizing devastating property damage.
Now’s the time to take action. Walk through your home and identify your priority areas: the kitchen where cooking fires start, the garage with flammable materials, or the wall separating your home from an attached structure. You don’t need to tackle everything at once. Start with one high-risk area and build from there, whether that means upgrading drywall, sealing penetrations, or installing fire-rated doors.
The best part? Implementing fire-resistant features doesn’t mean sacrificing your home’s aesthetic appeal. Modern fire-rated materials come in beautiful finishes, textures, and styles that complement any design vision. You can create a stunning interior that also happens to be exceptionally safe.
Don’t wait for an emergency to wish you’d acted sooner. Assess your vulnerabilities today, prioritize improvements based on risk, and take that first step toward better fire protection. Your future self—and your family—will thank you.
