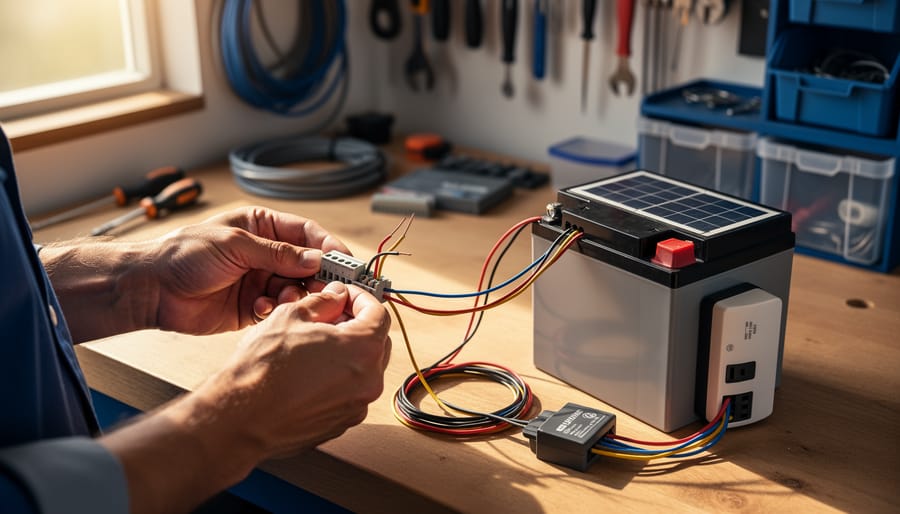
Wire Your First Solar Panel in One Afternoon (Without Hiring an Electrician)
Understanding a basic solar setup diagram takes the mystery out of going solar and puts clean energy within reach. Whether you’re exploring renewable options for your home or tackling DIY projects for beginners, these visual guides break down exactly how solar panels, inverters, batteries, and your home’s electrical system work together.
Most diagrams follow the same logical flow: sunlight hits your panels, which generate DC electricity that travels through a charge controller to either store power in batteries or convert to AC electricity through an inverter for immediate home use. Learning to read these diagrams means identifying just five core components and understanding their connections. The good news? Solar setups follow standardized layouts, so once you grasp one diagram, you can decode virtually any residential system. This guide walks you through each component, shows you how wiring connections work, and gives you the confidence to plan your own installation or communicate effectively with installers about your solar goals.
What Makes Up a Basic Solar Power System?
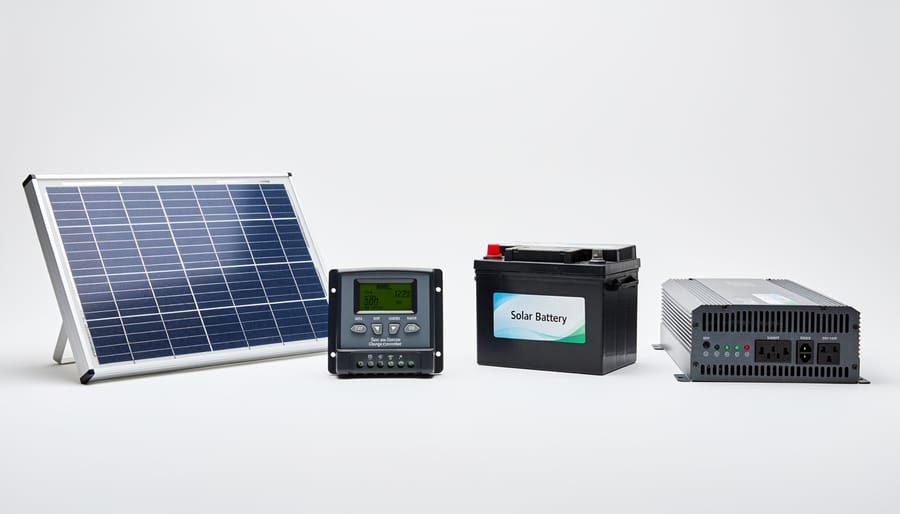
Think of a solar power system like a well-coordinated team, where each member has a specific job to keep everything running smoothly. Whether you’re looking at a simple diagram online or planning your own installation, you’ll encounter the same four essential components working together.
Solar panels are the star players. They’re the hardworking collectors that capture sunlight and convert it into electricity. Think of them as gardeners harvesting energy from the sun instead of vegetables from soil. They produce direct current (DC) electricity, which is the raw power that needs processing before it’s useful for your home.
Next comes the charge controller, your system’s traffic cop. This smart device regulates the flow of electricity from your panels to your battery, making sure it charges at just the right pace. Without it, your battery could get overcharged and damaged, similar to overfilling a water balloon until it bursts.
The battery is your energy savings account. It stores the excess power your panels generate during sunny days so you can use it later when the sun goes down or clouds roll in. This component is what allows you to have power even when your panels aren’t actively producing electricity.
Finally, there’s the inverter, the translator of your system. Since solar panels produce DC electricity but most household appliances run on alternating current (AC), the inverter converts the power into a usable form. It’s like having a interpreter who ensures everyone speaks the same language.
Understanding these four components is your first step toward confidently reading any solar setup diagram.
Reading Your Solar Setup Diagram Like a Pro
Understanding the Flow: Sun to Electricity
Let’s trace the journey of energy through your solar setup, following along with a basic diagram. It all starts when sunlight hits your solar panels. The panels contain photovoltaic cells that convert that sunshine into DC (direct current) electricity, the same type of power you’d find in batteries. Think of it as a steady, one-way flow of energy.
This DC electricity travels through wiring to your charge controller, which acts like a traffic cop. Its job is to regulate the power flowing into your battery bank, preventing overcharging and damage. The batteries store this energy for use when the sun isn’t shining, like at night or on cloudy days.
Here’s where things get interesting. Most of your home appliances, from your refrigerator to your phone charger, run on AC (alternating current) electricity, which is what comes from the grid. That’s where the inverter comes in. It converts the stored DC power from your batteries into AC power your appliances can use.
Following the diagram, you’ll see the final path leads from the inverter to your home’s electrical panel or directly to appliances. It’s a simple loop: sun to panel, panel to controller, controller to battery, battery to inverter, and inverter to your devices. Understanding this flow makes troubleshooting and system expansion much easier down the road.
Common Diagram Symbols You’ll See
Understanding solar diagrams becomes much easier once you recognize the standard symbols used across the industry. Solar panels are typically represented by rectangles divided into grid patterns, mimicking the appearance of actual photovoltaic cells. Batteries appear as simple parallel lines of different lengths, just like you’d see on household battery labels. The charge controller, which regulates power flow, is usually shown as a rectangular box with connection points on multiple sides.
You’ll also encounter an inverter symbol, depicted as a box with a wavy line inside representing alternating current (AC). Ground connections are marked by three descending parallel lines that decrease in size, indicating the earth connection that keeps your system safe. Wire connections appear as simple lines, sometimes with arrows showing current direction. A disconnect switch looks like a small break in the line with a perpendicular mark. Getting familiar with these symbols now will make reading any solar diagram feel like second nature when you’re ready to plan your installation.
The Simplest Solar Setup for Beginners
What This System Can Actually Power
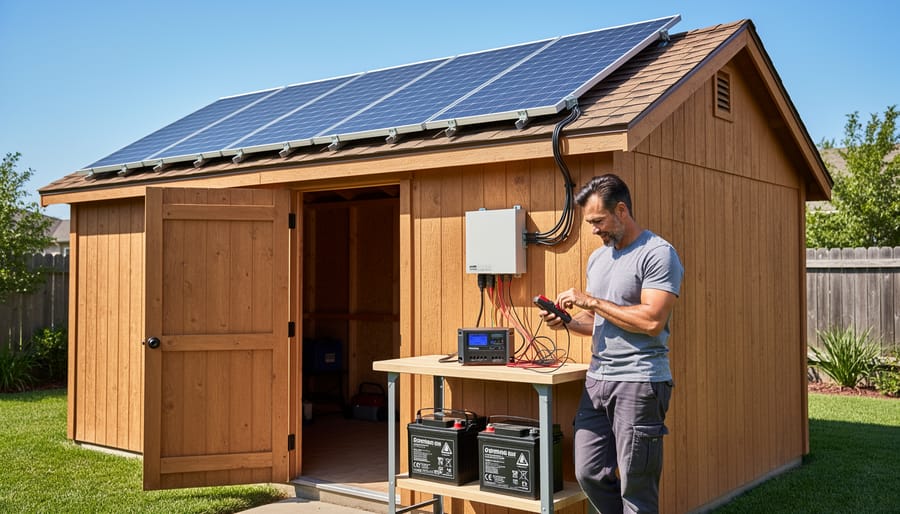
Let’s set realistic expectations here. A basic solar setup isn’t going to power your entire home, but it can handle more than you might think for everyday essentials.
Most entry-level systems (around 200-400 watts) excel at the fundamentals. You can easily run LED lighting throughout several rooms, charge your phones, tablets, and laptops multiple times daily, and keep small electronics humming along. Think WiFi routers, security cameras, and portable fans.
Want to go a bit bigger? A 12-volt DC refrigerator or cooler works great on these systems, making them perfect for RVs, cabins, or emergency backup power. You can also run a laptop workstation for remote work, power small TV setups for entertainment, and keep essential medical devices running during outages.
The key is understanding wattage. Add up what you need to run simultaneously. If your lights use 30 watts, phone charger takes 20 watts, and laptop needs 65 watts, you’re only using 115 watts total. That leaves plenty of headroom on a 400-watt system.
Air conditioners, electric heaters, full-size refrigerators, and power tools? Those need significantly larger setups with more panels, bigger batteries, and robust inverters. Start small, learn the basics, and you can always expand your system as your confidence and needs grow.
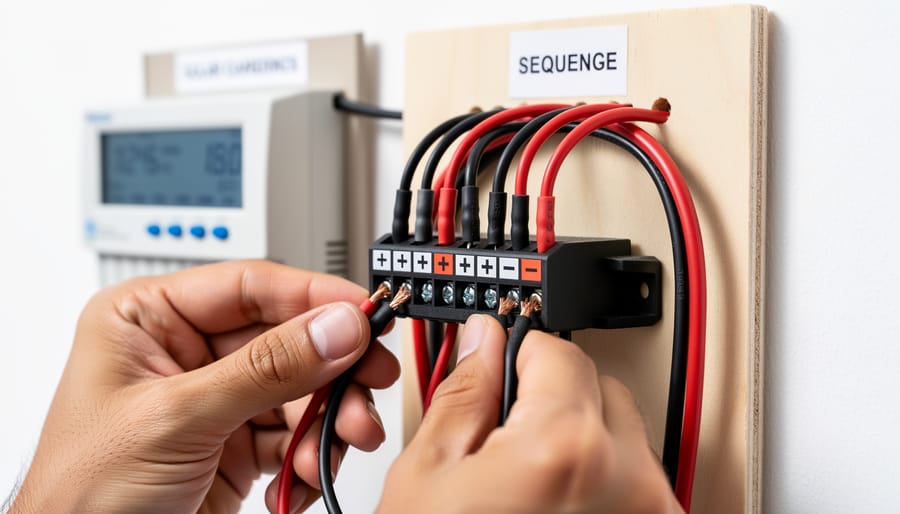
Wiring Basics: Connecting Your Components Safely
The Tools You’ll Actually Need
You don’t need a hardware store’s worth of tools to wire a basic solar setup, but a few key items will make your life much easier. First up, invest in a good pair of wire strippers and MC4 crimpers—these are specific to solar connectors and worth buying if you’re doing more than one panel. A basic multimeter is essential for checking voltage and ensuring everything’s connected properly before you flip the switch. You’ll also want a screwdriver set and possibly a wrench for mounting hardware.
Here’s what’s worth buying: the multimeter, wire strippers, and MC4 crimpers if you’re installing multiple panels. These tools pay for themselves in preventing mistakes. What you can probably borrow: drills, ladders, and general hand tools. Don’t skimp on safety gear either—gloves and safety glasses are non-negotiable when working with electrical components and climbing around on rooftops.
Safety First: What Could Go Wrong (And How to Prevent It)
Let’s talk about what can go wrong, because when it comes to electricity, a little caution goes a long way. The most common mistake DIYers make is underestimating wire gauge requirements. Using wires that are too thin can lead to overheating and fire hazards, especially when your panels are producing maximum power on sunny days.
Another frequent error is skipping proper fusing between components. Those little inline fuses in your diagram aren’t optional decorations. They’re your first line of defense against electrical shorts and potential fires. Always install fuses or circuit breakers as close to the battery as possible, on both positive and negative lines where recommended.
Incorrect polarity connections are surprisingly common too. Mixing up positive and negative terminals can damage your charge controller or inverter instantly. Double-check every connection before powering up your system.
Water exposure is another serious concern. Even if your setup is technically outdoors-rated, moisture can creep into poorly sealed connections over time. Use weatherproof enclosures for all electrical components and apply dielectric grease to connections.
Finally, know when to call a professional. If you’re connecting to your home’s main electrical panel, dealing with systems over 400 watts, or feeling uncertain about any step, consult a licensed electrician. Your safety is worth the investment.
Upgrading Your System: What Comes Next
Once you’ve mastered the basics, your DIY solar system can grow with your needs. The beauty of starting simple is that you can expand gradually without rebuilding everything from scratch.
Adding more panels is usually the easiest upgrade. You’ll connect additional panels in series or parallel to your existing array, which increases your power generation. Just make sure your charge controller can handle the extra wattage. Expanding battery storage follows similar logic—you can link additional batteries together to store more energy for nighttime use or cloudy days.
The real game-changer comes when you’re ready to connect your system to your home’s electrical panel. This is where things get serious. Most areas require permits and inspections once you start feeding power into your household circuits. You’ll need a properly sized inverter, disconnect switches, and often a transfer switch or interlock device to prevent backfeeding into the grid.
Here’s when to call a professional: grid-tied systems always require a licensed electrician and utility company approval. Roof-mounted installations often need structural assessments and proper mounting systems. Any time you’re connecting to your main electrical panel, professional help isn’t just smart—it’s usually legally required.
Start small, learn the fundamentals, and scale up as your confidence and budget allow. Your basic diagram will evolve, but those core connections remain the foundation of even the most sophisticated home solar systems.
Understanding a basic solar setup diagram truly takes the mystery out of going solar. What might seem intimidating at first—all those lines, symbols, and components—becomes remarkably straightforward once you grasp the basics. The beauty of solar power is that it follows simple, logical principles. Electrons flow from your panels through a charge controller to your batteries, and an inverter transforms that stored energy into usable household power. That’s the essence of it.
The best part? You don’t need to tackle a whole-house system on day one. Start with something manageable—a small off-grid setup for your shed, RV, or emergency backup system. These starter projects build confidence and hands-on understanding without overwhelming complexity or cost. You’ll quickly discover that solar DIY is far more accessible than most people imagine.
Take that first step today. Sketch out your own basic diagram based on what you’ve learned here. Identify the components you’ll need and start pricing them out. Whether you’re aiming for energy independence, backup power, or simply reducing your utility bills, your solar journey begins with understanding that simple diagram. The power is literally in your hands.
