Transform Your Home with a Safe and Stylish Indoor Playground
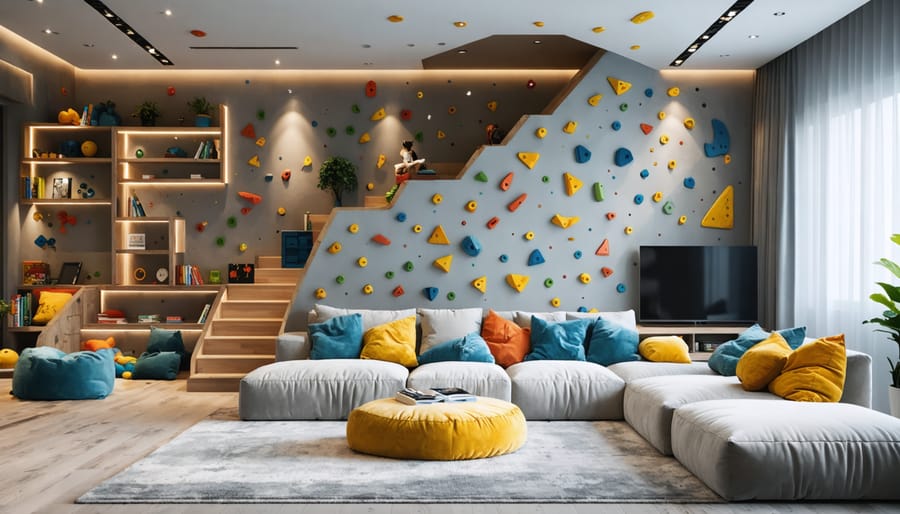
Transform your living space into a vibrant indoor playground that delights children while maintaining your home’s aesthetic appeal. Modern indoor playground design seamlessly blends safety, functionality, and style, creating dedicated play zones that grow with your family. From innovative climbing walls disguised as artistic installations to convertible play furniture that doubles as sophisticated home decor, today’s indoor playgrounds redefine the boundaries between play spaces and interior design.
Smart spatial planning allows you to incorporate engaging play elements like soft climbing structures, reading nooks, and interactive zones without overwhelming your home’s layout. By focusing on modular components and multi-functional design elements, you can create a dynamic play environment that adapts to changing needs while preserving the sophistication of your interior space.
Safety remains paramount, with impact-absorbing flooring solutions, rounded edges, and proper height considerations integrated naturally into the design. Strategic lighting, natural materials, and thoughtful color schemes ensure these play areas feel like an organic extension of your home rather than an afterthought. Whether you’re designing for a compact urban apartment or a spacious suburban home, contemporary indoor playground design offers innovative solutions that inspire active play while maintaining your home’s design integrity.
Seamless Integration with Your Home’s Design
Color Coordination and Material Selection
When designing an indoor playground, selecting the right colors and materials is crucial to create perfect harmony between your play space and existing home décor. Start with a neutral base color that matches your home’s palette, then add pops of vibrant, kid-friendly hues through equipment and accessories. Consider using blues and greens for a calming effect, or yellows and oranges to energize the space.
For materials, prioritize durability and safety without sacrificing style. Opt for soft, impact-absorbing rubber flooring in colors that complement your design scheme. EVA foam tiles offer another attractive option and come in various wood-grain patterns or solid colors. For climbing structures, natural wood elements create a warm, organic feel while matching contemporary home aesthetics.
Wall treatments should be both practical and visually appealing. Washable paint in a semi-gloss finish makes cleanup easier, while magnetic paint sections create interactive areas. Consider incorporating elements like cork boards or chalkboard paint in designated zones, choosing frames and borders that match your home’s trim or hardware finishes. Remember to use non-toxic, child-safe materials throughout the space while maintaining your desired design aesthetic.
Multi-functional Space Planning
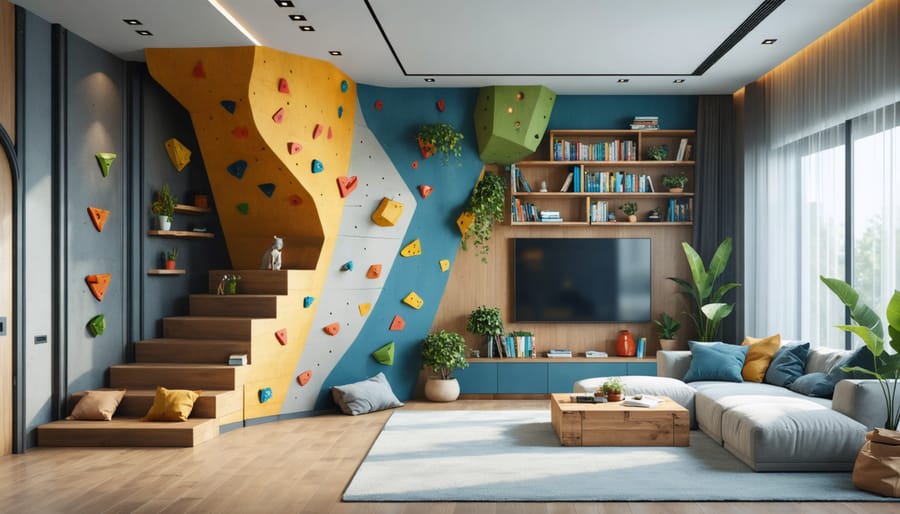
Maximizing your indoor playground space means thinking beyond single-purpose areas. Consider incorporating modular furniture and adaptable play structures that can transform based on different activities and age groups. Moveable climbing walls with adjustable holds, foldable gym mats, and stackable soft play blocks offer versatility while maintaining safety standards.
Create zones that serve multiple functions throughout the day. A reading nook with cushions can double as a quiet play area, while a craft table with storage underneath can transform into a building block station. Install track lighting with adjustable spots to highlight different activity areas as needed, and use removable floor markings to designate temporary play spaces.
Storage solutions play a crucial role in multi-functional design. Consider pull-out drawers beneath platforms, wall-mounted organizers that can fold away, and benches with hidden storage compartments. This approach keeps the space tidy while allowing quick transitions between activities.
For maximum flexibility, invest in lightweight equipment that’s easy to move and reconfigure. Rolling storage units, portable play panels, and collapsible tunnels can quickly adapt the space for different age groups or activities, making your indoor playground as dynamic as the children who use it.
Safety-First Design Elements
Flooring Solutions
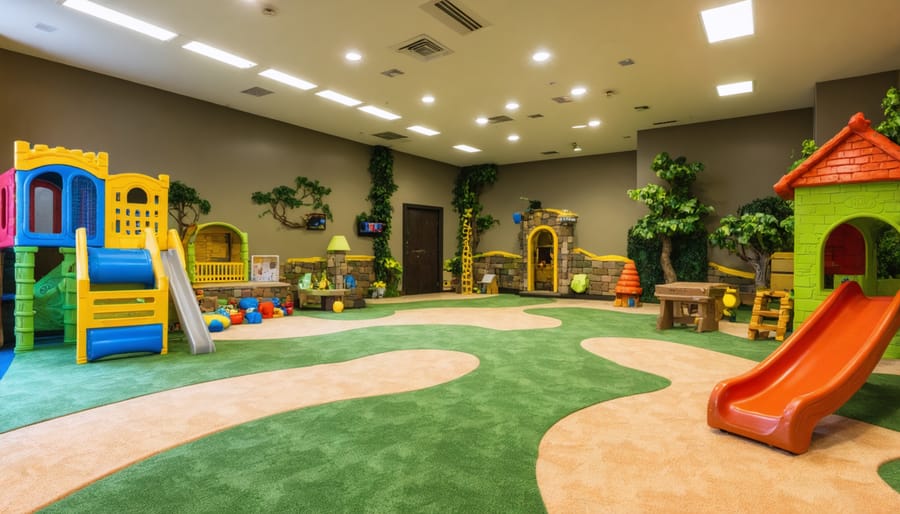
When it comes to indoor playground flooring, safety should be your top priority while keeping maintenance and aesthetics in mind. The most recommended option is EVA foam tiles, which provide excellent shock absorption and come in various colors and thicknesses. These interlocking tiles are easy to install, clean, and replace if damaged.
Another popular choice is rubber flooring, available in both tiles and rolls. It offers superior durability and impact resistance, making it perfect for high-traffic areas. The seamless rubber rolls are particularly effective in preventing trip hazards and can withstand heavy equipment.
For a more natural look, consider cork flooring. It’s naturally antimicrobial, provides good cushioning, and maintains a comfortable temperature year-round. While more expensive initially, cork’s longevity and low maintenance requirements make it cost-effective in the long run.
If you’re working with a tighter budget, consider commercial-grade carpet tiles with proper padding underneath. Look for options with stain-resistant treatments and antimicrobial properties. The modular nature of carpet tiles allows for easy replacement of worn or damaged sections.
Regardless of your choice, ensure the flooring meets ASTM safety standards for fall protection. The recommended minimum thickness is 1.5 inches for areas with climbing equipment. Consider installing different flooring zones – softer materials under play equipment and more durable options in traffic areas. Always factor in your local climate and humidity levels when making your final selection.
Wall and Corner Protection
Creating a safe indoor playground doesn’t mean sacrificing style. Start with corner guards that complement your interior design – opt for clear acrylic protectors for a minimalist look or choose decorative foam corners in playful shapes and colors that double as design elements. For walls, consider installing wainscoting or padded wall panels in coordinating fabrics that match your room’s color scheme.
Smart wall protection solutions include installing rubber baseboards that prevent scuff marks while adding a modern accent line to your space. For larger wall areas, consider using colorful foam tiles that create an artistic pattern while providing cushioning. These can be arranged in geometric designs or playful murals that enhance the room’s aesthetic.
Another stylish approach is using specialized wall paint with extra durability and washability. Pair this with strategically placed decorative bumpers or wall decals that serve both protective and aesthetic purposes. For corners that need extra protection, create custom-built padded corner seats that offer both safety and additional seating options.
Remember to maintain consistency in materials and colors throughout the space. Choose impact-resistant materials that match your existing décor, such as textured vinyl wall coverings or padded fabric panels in complementary hues. This ensures your safety measures blend seamlessly with your interior design while keeping little ones protected during active play.
Indoor-Outdoor Connection
Natural Light Integration
Natural light plays a crucial role in creating an inviting and energizing indoor playground environment. By incorporating biophilic design elements, you can create a space that feels connected to the outdoors while maintaining climate control and safety.
Consider installing large windows or skylights strategically around play areas to maximize daylight exposure. Position climbing structures and activity zones near these natural light sources, but be mindful of direct sunlight that might cause glare or excessive heat. Light-filtering window treatments can help manage brightness throughout the day while maintaining the benefits of natural illumination.
For spaces with limited window access, consider using light tubes or solar tunnels to channel natural light from the roof. These alternatives are especially effective for basement playgrounds or interior rooms. Complement natural light with mirrors strategically placed to reflect and amplify available daylight throughout the space.
When planning window placement, incorporate views of outdoor greenery where possible. This visual connection to nature not only enhances the play experience but also helps children maintain their natural circadian rhythms and supports their overall well-being. Remember to balance natural light with proper ventilation to maintain comfortable indoor temperatures year-round.
Transitional Play Zones
Transitional play zones bridge the gap between indoor and outdoor play areas, creating seamless indoor-outdoor flow that works year-round. These versatile spaces typically feature large windows, sliding glass doors, or retractable walls that let in natural light while protecting children from harsh weather conditions.
Consider incorporating weather-resistant flooring materials like rubber tiles or low-pile carpeting that can handle both indoor traffic and moisture from outside. Installing proper ventilation systems helps maintain comfortable temperatures and air quality, especially during intense play sessions.
Smart lighting solutions can mimic natural daylight, creating a bright, energizing atmosphere even on cloudy days. Use adjustable LED systems that can be dimmed or brightened according to the time of day and available natural light.
Add elements that work in any weather, such as climbing walls with moisture-resistant grips, swing sets with weather-proof materials, and storage solutions for both indoor and outdoor toys. Include comfortable seating areas where parents can supervise while children play, regardless of the weather conditions.
Remember to include proper drainage systems near entrances and use moisture-resistant materials for any wooden elements to ensure longevity and safety in all seasons.
Storage and Organization Solutions
Built-in Storage Ideas
Smart storage solutions are essential for keeping your indoor playground organized while maintaining its aesthetic appeal. Consider installing built-in cabinets with child-safe locks along the walls to store toys, games, and equipment. Custom-made benches with storage compartments underneath serve double duty as seating and organization space, perfect for quick cleanup times.
Wall-mounted cubbies at child height encourage kids to participate in organizing their play space while adding a decorative element to the room. Use color-coded bins and baskets that complement your existing décor to create a cohesive look. Install floating shelves above reach height for items that require adult supervision or seasonal rotation of toys.
For larger equipment, consider creating a dedicated storage closet with specialized hooks and racks for climbing gear, mats, and portable play elements. Magnetic strips on walls can hold metal toys and create an interactive storage display. Remember to incorporate clear labeling systems using pictures for younger children, making it easier for them to maintain organization independently.
Roll-out storage drawers beneath climbing structures maximize otherwise unused space and keep the play area clutter-free when not in use.
Flexible Storage Systems
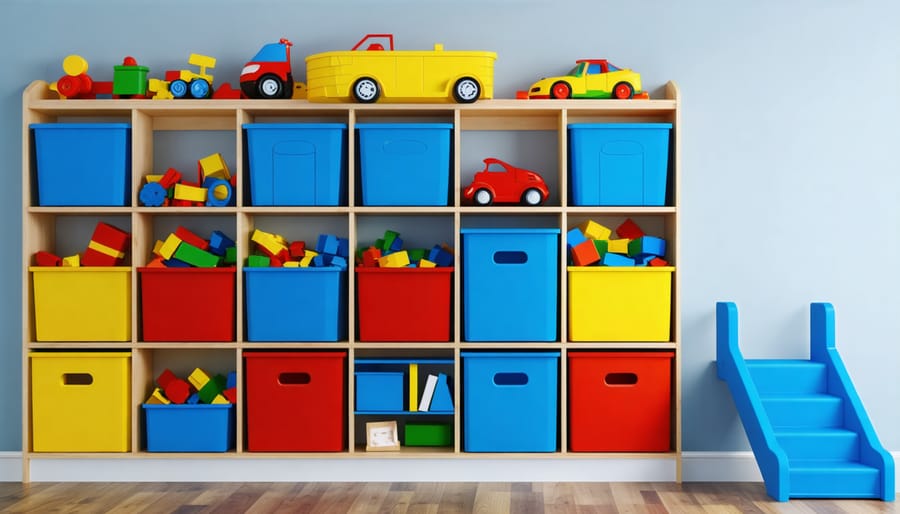
Storage solutions in your indoor playground should evolve alongside your children’s changing needs and interests. Start with low-level, easily accessible bins and cubbies for toddlers to encourage independence and tidying habits. Consider using clear containers that allow kids to see what’s inside, making cleanup time more engaging and organized.
Install adjustable shelving systems that can be modified as your children grow taller and their toys become more sophisticated. Wall-mounted storage units with removable bins work particularly well, as you can reconfigure them to accommodate everything from building blocks to sports equipment. Include a mix of open and closed storage options to maintain a clean look while keeping frequently used items within reach.
Label storage zones clearly using both pictures and words to help children develop organizational skills. Incorporate mobile storage solutions like rolling carts or bins that can be easily moved during playtime and tucked away when not in use. For maximum efficiency, dedicate specific zones for different activities – reading corners with book storage, craft areas with supply drawers, and active play spaces with equipment storage nearby.
Remember to position heavier items at lower heights and secure all storage units properly to prevent tipping hazards.
DIY Play Features
Creating your own play features doesn’t have to be complicated or expensive. With some basic materials and creativity, you can build engaging elements that children will love. Start with a simple climbing wall using plywood and climbing holds from a sporting goods store. Mount it at a gentle angle and add crash pads below for safety. For younger children, create a sensory wall using different textures and materials like soft brushes, mirrors, and wooden blocks mounted securely to a board.
Transform a corner into a cozy reading nook by installing a canopy or tent structure with soft cushions and string lights. Add floating shelves at child height for books and small toys. Build a simple balance beam using a sturdy wooden plank mounted just inches off the ground, with padded flooring underneath.
For active play, create an obstacle course using PVC pipes to make tunnels and hurdles. These can be easily dismantled and stored when not in use. Install a pulley system with baskets for transferring toys from one side of the room to another, teaching cause and effect while providing entertainment.
Consider building a modular cube system using wooden boxes that can be rearranged to create different configurations. Paint them in bright colors and add cushions to make them multi-functional as both seating and climbing elements. For artistic expression, mount a large chalkboard or whiteboard at kid-height, or create a magnetic wall for interactive play.
Remember to sand all wooden surfaces smooth, use child-safe paint, and secure all elements firmly to walls or floors where necessary. Regular safety checks are essential for all DIY play features.
Creating an indoor playground is an exciting project that can transform any space into a haven of fun and learning for children. By following the design principles and safety guidelines we’ve discussed, you can create a space that’s not only entertaining but also safe and aesthetically pleasing. Remember to start with a solid plan, choose age-appropriate equipment, incorporate various activity zones, and prioritize safety features throughout the design process.
Whether you’re working with a small corner of your home or a large commercial space, the key is to balance functionality with creativity. Don’t forget to consider maintenance requirements and future adaptability as children grow and their needs change. The investment in proper materials and safety features will pay off in the long run, ensuring years of enjoyment and peace of mind.
Ready to start your indoor playground project? Begin by measuring your space, setting a realistic budget, and gathering inspiration from successful designs. With careful planning and attention to detail, you can create an indoor playground that delights children while complementing your existing décor. Take that first step today and watch your vision come to life!
