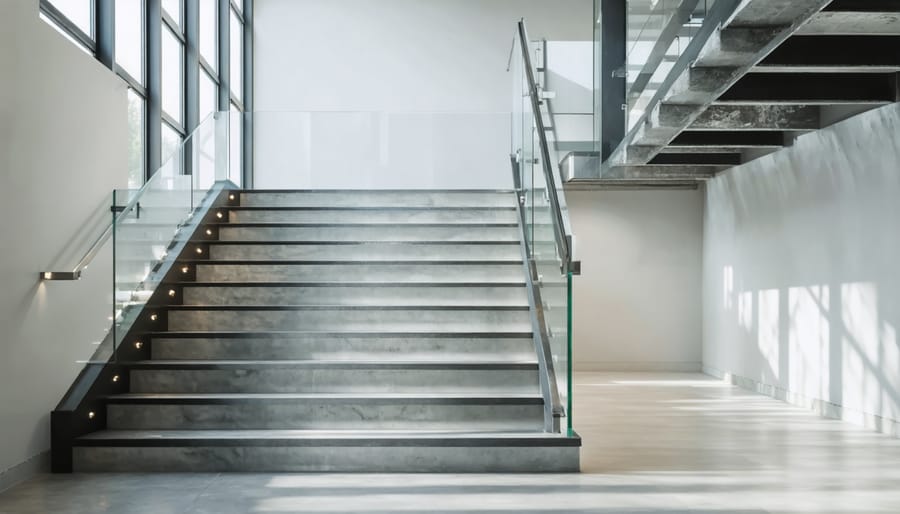
Transform Your Staircase: How Modern Railing Upgrades Add Instant Style
Transform your staircase’s safety and style by replacing outdated railings with modern, code-compliant alternatives. Whether your existing handrail is wobbly, worn-out, or simply doesn’t match your home’s aesthetic, a railing replacement project delivers immediate impact while protecting your family. Start by measuring your staircase dimensions and consulting local building codes – most require 36-inch minimum railing heights and specific baluster spacing. Then explore today’s diverse material options, from sleek metal balusters and glass panels to classic wooden systems, each offering unique benefits for both interior and exterior applications. With basic tools, careful planning, and a weekend of work, you’ll revitalize your staircase while potentially increasing your home’s value.
The beauty of this home improvement project lies in its achievability for DIY enthusiasts and its dramatic visual payoff. Modern railing systems come in pre-fabricated kits that simplify installation, while custom options allow for personalized designs that perfectly complement your home’s architecture. Beyond aesthetics, new railings incorporate improved mounting hardware and durable materials that ensure decades of safe, reliable use.
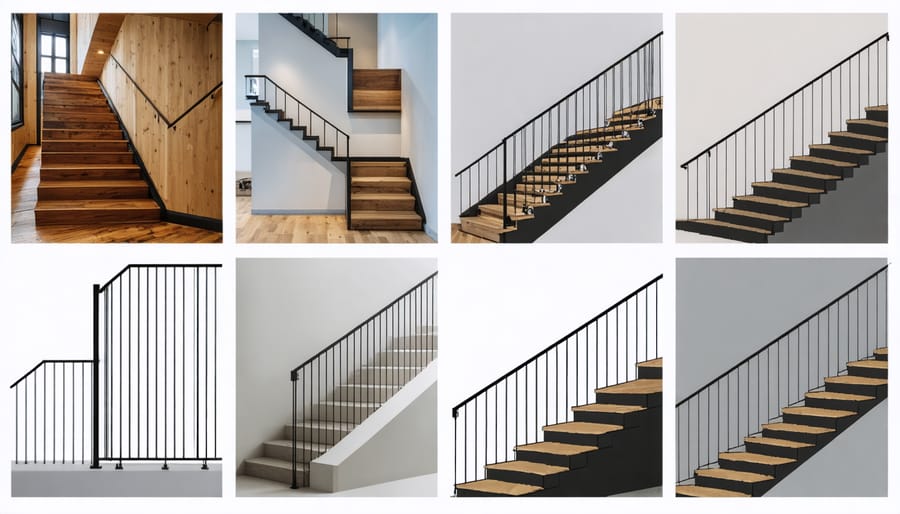
Popular Stair Railing Styles for Modern Homes
Metal and Glass Combinations
Metal and glass combinations offer a stunning modern solution for stair railings that blend durability with sophisticated aesthetics. The sleek metal frames, typically made from stainless steel or aluminum, provide robust support while glass panels create an open, airy feel that maximizes natural light flow. These systems commonly use tempered safety glass panels, which are significantly stronger than regular glass and break into small, rounded pieces if damaged.
Popular options include frameless glass panels with metal standoffs, fully framed glass panels within metal railings, or partial frame systems where glass panels are secured at the top and bottom only. The versatility of these combinations allows for customization to match any interior style, from minimalist contemporary to transitional designs. While installation typically requires professional expertise due to the precise measurements and specialized tools needed, the result is a striking architectural feature that can dramatically enhance your home’s value and visual appeal.
Industrial-Style Metal Railings
Industrial-style metal railings offer a bold, contemporary look that’s perfect for modern homes and urban spaces. These sleek designs typically feature clean lines, exposed hardware, and raw metal finishes that complement both interior and outdoor railing designs. Popular finish options include brushed stainless steel, matte black powder coating, and weathered bronze. The beauty of industrial metal railings lies in their versatility – they can be customized with various balusters, from simple vertical posts to more elaborate geometric patterns. For a truly authentic industrial look, consider mixing materials by combining metal with wood handrails or concrete elements. These railings aren’t just stylish; they’re also incredibly durable and require minimal maintenance, making them a practical choice for high-traffic areas.
Traditional Wood Options
Traditional wood options remain a popular choice for stair railings, offering timeless appeal and natural warmth. Oak stands out as a classic favorite, providing excellent durability and a prominent grain pattern that takes stain beautifully. Maple offers a smoother, more uniform appearance and works well in contemporary interpretations of traditional designs. For a more luxurious look, cherry wood develops a rich, deep patina over time and brings sophisticated elegance to any staircase.
Modern interpretations of wooden railings often combine traditional materials with updated designs. Consider mixing wood with metal balusters for a transitional style, or opt for sleek, horizontal wooden boards instead of traditional spindles. Pine and poplar provide budget-friendly alternatives that can be painted or stained to match any décor, while mahogany and walnut deliver premium options for those seeking distinctive, high-end finishes.
Tools and Materials Needed
Before starting your stair railing replacement project, gather all the necessary recommended installation tools and materials. Having everything ready will make the process smoother and help you avoid multiple trips to the hardware store.
Essential Tools:
– Power drill with various drill bits
– Level (both standard and laser level recommended)
– Tape measure
– Pencil for marking
– Screwdriver set (both Phillips and flathead)
– Wrench set
– Safety glasses and work gloves
– Dust mask
– Stud finder
– Reciprocating saw or hacksaw
– Wood chisel
– Hammer
– Pry bar
– Socket set
– Allen wrench set
Required Materials:
As you gather your essential railing components, make sure to include:
– New handrail system (including balusters and newel posts)
– Mounting brackets
– Anchors appropriate for your wall type
– Construction adhesive
– Wood screws (various sizes)
– Wood putty or filler
– Sandpaper (medium and fine grit)
– Primer and paint or stain (if finishing on-site)
– Drop cloths
– Cleaning supplies
– Wood shims
– Construction adhesive
– Mounting hardware (specific to your chosen railing system)
Optional but Helpful Items:
– Work light or headlamp
– Extension cord
– Shop vacuum
– Sawhorses
– Clamps
– Measuring app on your smartphone
– Digital angle finder
– Paint supplies (if finishing on-site)
Remember to check your local building codes before purchasing materials, as requirements for railing height, baluster spacing, and acceptable materials may vary by location.
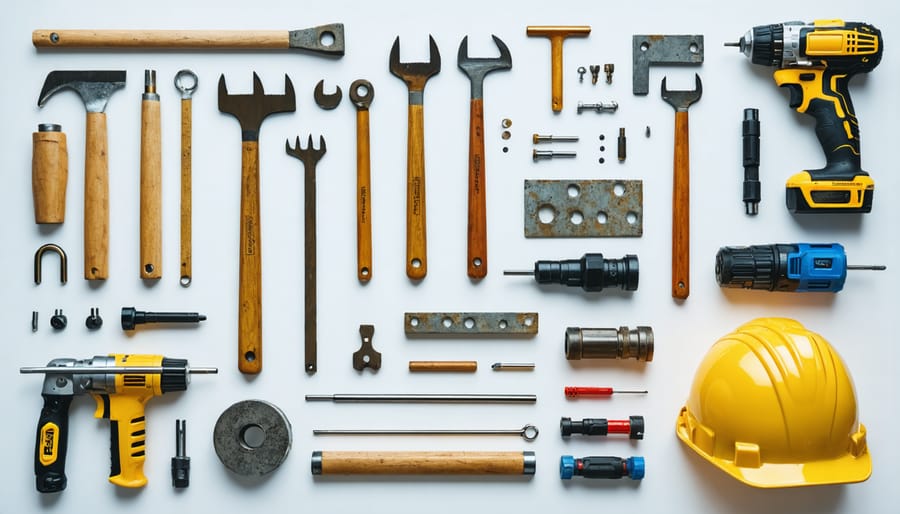
Removing the Old Railing System
Safety Precautions
Before starting your railing replacement project, it’s crucial to prioritize safety to prevent accidents and injuries. Begin by clearing the entire staircase and surrounding area of any obstacles, furniture, or decorative items. Ensure you have a well-lit workspace and keep children and pets away from the project area.
Always wear appropriate personal protective equipment (PPE), including safety glasses, work gloves, and closed-toe shoes with good grip. If you’re working with power tools, add ear protection to your safety gear. Keep a dust mask handy for when you’re cutting or sanding materials.
Set up a sturdy ladder or scaffolding system if you’re working on higher sections of the staircase. Never stand on unstable surfaces or overreach while working. Have a helper nearby to assist with holding materials and spotting you while you work at heights.
Before removal, check if your existing railing is load-bearing or connects to any crucial structural elements. If you’re unsure about any structural aspects, consult a professional before proceeding. Keep your tools organized and within easy reach, and maintain a clean workspace by regularly clearing debris and dust.

Removal Techniques
Before installing your new railing, you’ll need to properly remove the existing one. The removal process varies depending on your current railing type, but with the right tools and approach, it’s a manageable task.
For wooden railings, start by examining how the balusters (spindles) are attached. If they’re nailed in, use a pry bar to carefully remove them one by one. For screwed connections, remove all visible screws first. Some balusters might be glued – in this case, gentle rocking motion while pulling upward usually breaks the adhesive bond.
Metal railings typically have anchor points either in the stairs themselves or along the wall. Look for decorative caps that might be hiding mounting screws or bolts. Once located, remove these fasteners with the appropriate wrench or screwdriver. For welded railings, you may need to cut through the metal using a reciprocating saw or angle grinder – just be sure to wear proper safety gear.
For wall-mounted handrails, locate all bracket mounting points. Remove any decorative covers to access the screws underneath. Some brackets might be anchored into wall studs or have molly bolts, requiring extra care during removal to minimize wall damage.
Post-mounted railings often have concrete anchors or deck attachments. These usually require removing decorative base covers to access the mounting hardware. In some cases, you might need to cut old anchors flush with the surface if they’re too corroded to remove.
Remember to preserve any parts you might want to reuse and document the original installation method – this can be helpful when installing the new railing.
Installing Your New Railing
Measuring and Marking
Accurate measurements are crucial for a successful railing installation that meets both safety and style considerations. Start by measuring the total length of your staircase from top to bottom, following the angle of your stairs. Use a laser level to mark the positions for your newel posts at both ends, ensuring they’re perfectly plumb.
For the balusters, measure the distance between posts and divide it by the maximum allowed spacing (typically 4 inches according to building codes). Mark these points on both the top and bottom rails using a pencil and carpenter’s square. Double-check all measurements before making any cuts, remembering the old carpenter’s adage: “measure twice, cut once.”
Don’t forget to account for any decorative caps or finials in your overall height calculations. Take photos of your measurements and marks with your smartphone – this creates a helpful reference guide and makes it easier to spot any potential issues before you begin cutting materials.
Mounting Posts and Brackets
Proper mounting of posts and brackets is crucial for a safe and sturdy railing system. Start by marking your post locations, typically at the top and bottom of the stairs and every 4-6 feet in between. Using a plumb bob or level, draw vertical lines to ensure your posts will be perfectly straight.
For deck-mounted posts, secure a mounting plate to the stair tread or landing using lag bolts. Make sure to drill pilot holes first to prevent wood splitting. If you’re anchoring to concrete, use a hammer drill with masonry bits and concrete anchors rated for structural use.
When installing wall-mounted brackets, locate the studs using a stud finder – these will provide the necessary support. Mark your holes, drill pilot holes, and secure the brackets using 3-inch lag screws. For drywall sections between studs, use heavy-duty toggle bolts rated for handrail support.
For newel posts at the top and bottom of stairs, cut a notch in the post to fit over the first or last tread. Secure these posts with both lag bolts through the base and angle brackets on the sides. This provides extra stability at these crucial points.
Test each post and bracket by applying pressure in all directions before moving forward. There should be zero wobble or movement. If you detect any instability, double-check your hardware and add reinforcement where needed. Remember, these mounting points will bear significant weight and stress over time, so it’s better to over-engineer than cut corners.
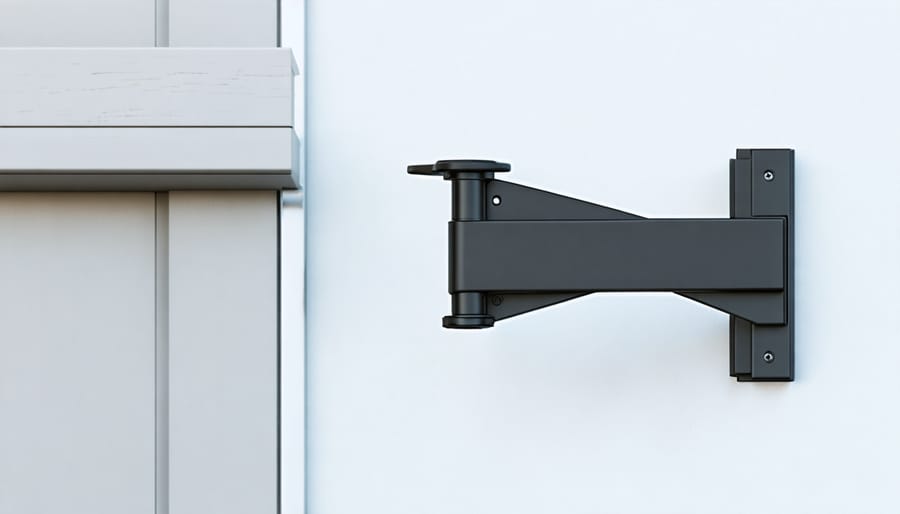
Attaching Rails and Balusters
With your newel posts securely in place, it’s time to attach the handrails and balusters. Start by measuring the exact distance between your newel posts, then cut your handrail to size, adding an extra inch for proper fitting. Pre-drill holes in the newel posts at your marked height, ensuring they align perfectly with your handrail brackets.
Position your first baluster against the bottom newel post, using a level to ensure it’s perfectly vertical. Mark the spots where it meets both the handrail and the stair tread. Continue this process, spacing balusters roughly 4 inches apart (check your local building codes for exact requirements). Pro tip: Use a piece of scrap wood cut to 4 inches as a spacing guide to maintain consistency.
Secure the handrail brackets to your newel posts, then attach the handrail. For wooden railings, use construction adhesive and screws; for metal, follow the manufacturer’s specific mounting instructions. Now, working from one end to the other, attach your balusters. If you’re using wooden balusters, apply construction adhesive before securing them with screws. For metal balusters, most systems include special fasteners or brackets.
Double-check that everything is level and secure. Give the handrail a firm shake test – it should feel solid with no wobble. Once everything is tight, fill any screw holes with wood putty if needed, and you’re ready for finishing touches.
Finishing Touches
Securing and Testing
Once your new railing is installed, it’s crucial to thoroughly test its security and stability. Start by gently shaking the railing from different angles while standing on the stairs. The railing should feel completely solid with no wobbling or creaking. Pay special attention to the connection points where the railing meets the posts and where the posts connect to the stairs or floor.
Check each baluster by applying gentle pressure from both sides. They should remain firmly in place without any movement. For handrails, grip them firmly and apply your body weight as if you were actually using them for support. This real-world testing helps ensure they’ll hold up during daily use.
Inspect all mounting hardware to verify everything is tight and secure. Double-check that all screws and bolts are properly tightened, but be careful not to over-tighten, as this could strip the threads or damage the materials. Look for any gaps between components – there shouldn’t be any visible spaces where the railing meets the posts or where hardware connects different pieces.
Finally, run your hand along the entire length of the railing to check for any rough spots, sharp edges, or protruding hardware that might need attention. If you discover any issues during testing, address them immediately before considering the project complete. Remember, a properly secured railing isn’t just about aesthetics – it’s a crucial safety feature in your home.
Aesthetic Finishing
The finishing touches can transform your new stair railing from a functional element into a stunning focal point of your home. Start by filling any nail holes or gaps with wood putty that matches your railing color. Once dry, sand these spots until they’re smooth and seamless with the surrounding surface.
For painted railings, use a high-quality primer followed by two coats of paint, lightly sanding between each layer for a professional finish. Consider using semi-gloss or satin finishes, as they’re easier to clean and provide an elegant look. If you’re working with wooden railings, enhance their natural beauty with a stain that complements your home’s color scheme, followed by several coats of clear polyurethane for protection.
Add decorative elements like post caps, which come in various styles from simple to ornate. These not only provide a polished look but also protect the wood from moisture. Consider installing LED stair lights beneath the handrail for both safety and ambiance. Decorative brackets or mounting hardware can also add character to your railing system.
For metal railings, ensure all welds and joints are properly smoothed, and consider adding decorative collars to cover mounting points. A powder-coated finish provides durability and a clean, professional appearance that will last for years.
Finally, add small rubber bumpers where the railing meets the wall to prevent scuff marks and maintain that pristine look for longer.
Replacing your stair railings is a rewarding project that can dramatically enhance your home’s safety and aesthetic appeal. Throughout this guide, we’ve covered the essential steps to successfully complete this transformation, from careful planning and measurement to the final installation and finishing touches.
Remember to prioritize safety by ensuring all components meet local building codes and are properly secured. Regular maintenance of your new railings will extend their lifespan and preserve their appearance. Inspect the railings every six months for loose balusters, wobbly posts, or signs of wear. Tighten any loose fasteners promptly, and touch up any scratches or scuffs in the finish to prevent rust or deterioration.
For wooden railings, apply a fresh coat of paint or stain every few years to protect the material and maintain its beauty. Metal railings may need occasional rust treatment and repainting, while glass panels should be regularly cleaned with appropriate glass cleaners to maintain their clarity.
If you encounter any challenges during installation or maintenance, don’t hesitate to consult a professional. While this is a manageable DIY project, some situations may require expert assistance to ensure proper installation and long-term stability.
With proper care and maintenance, your new stair railings will continue to provide safety and style for many years to come, making this home improvement project a valuable investment in your property.
