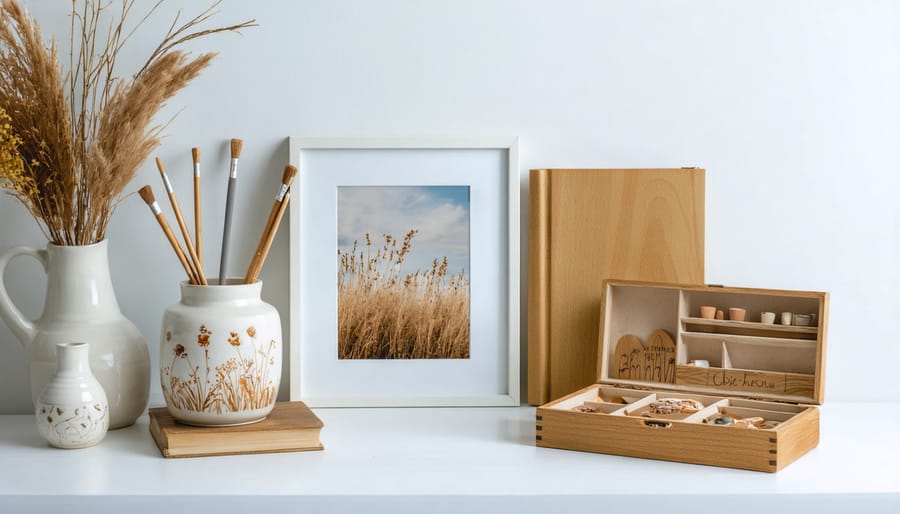
Transform Your Space with These Heartfelt DIY Home Accessories
Transform cherished memories into meaningful gifts by crafting custom photo albums, personalized wine boxes, or hand-painted ceramic pieces that celebrate unique relationships and special moments. DIY gifting elevates ordinary presents into extraordinary personalized home features, creating lasting impressions that store-bought items simply can’t match. Master simple yet impactful techniques like wood burning, resin casting, and fabric printing to design one-of-a-kind presents that reflect both skill and thoughtfulness. Whether crafting for holidays, birthdays, or special occasions, combine readily available materials with personal touches – photographs, meaningful dates, or favorite quotes – to create gifts that tell stories and strengthen connections. Modern DIY gifts merge traditional craftsmanship with contemporary design, allowing makers to customize everything from digital photo books to hand-poured candles with signature scents.
Personalized Photo Decor Projects
Memory Wall Hangings
Transform cherished memories into stunning creative wall displays with these personalized photo arrangements. Start by selecting 8-12 meaningful photos that tell a story or share a theme. Print them in various sizes, mixing both color and black-and-white prints for visual interest.
Choose frames that complement your decor style – vintage wooden frames for a rustic look, or sleek metallic ones for modern spaces. For a cohesive appearance, stick to 2-3 frame colors maximum. Before hanging, arrange your frames on the floor to experiment with different layouts. Consider creating a heart shape, geometric pattern, or flowing design.
Use kraft paper templates to mark nail positions on your wall, ensuring perfect placement. Add personal touches by incorporating small memorabilia, pressed flowers, or handwritten notes between frames. For extra charm, include LED string lights or spotlights to highlight specific photos.
Remember to leave room for future additions – the best memory walls grow along with your experiences and special moments.
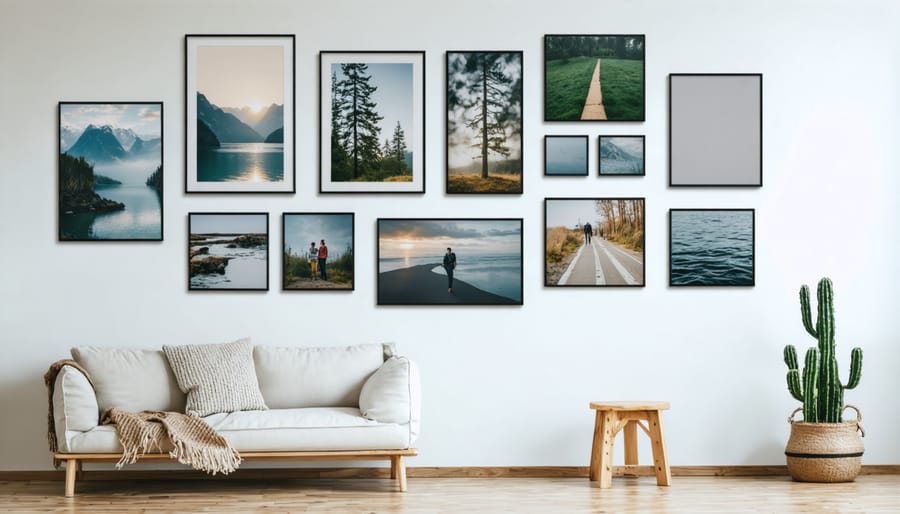
Photo Transfer Accessories
Transform cherished photos into stunning personalized gifts using simple transfer techniques. For wood transfers, start with a laser-printed photo (not inkjet) and apply mod podge directly to the wood surface. Place the photo face-down, smooth out any bubbles, and let it dry completely. Gently rub away the paper with a damp cloth to reveal your transferred image.
For canvas transfers, use gel medium as your adhesive. Apply a generous layer to your canvas, position your photo face-down, and press firmly. Once dry, wet the paper and carefully roll it off with your fingers, leaving the image behind on the canvas.
Try using transfer paper for smooth surfaces like ceramic tiles or glass. These special papers can be found at craft stores and work with both inkjet and laser prints. Simply print your photo onto the transfer paper, position it on your surface, and iron it on using firm, even pressure.
For a vintage look, try using packing tape transfers on light-colored surfaces. Press clear packing tape firmly onto your photo, soak in warm water, and rub away the paper backing to create a transparent transfer with an aged effect.
Custom Textile Creations
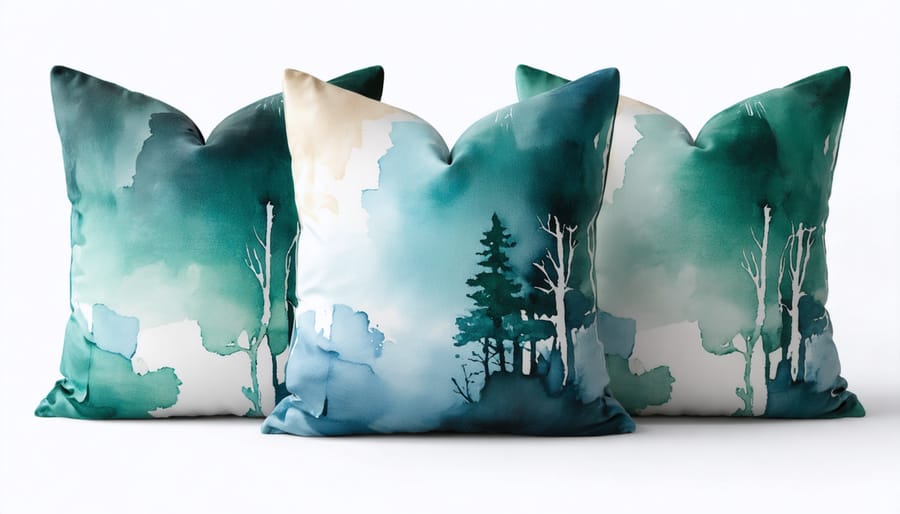
Hand-Painted Throw Pillows
Transform plain throw pillows into personalized works of art with this simple painting technique. Start by washing and drying your pillow covers to ensure a clean canvas. Choose fabric paint in your desired colors and gather materials including foam brushes, painter’s tape, and stencils if desired.
Place a piece of cardboard inside the pillow cover to prevent paint bleeding. For geometric patterns, use painter’s tape to create crisp lines. For freehand designs, sketch your pattern lightly with a fabric pencil first. Apply the paint in thin, even layers, working from the center outward.
Consider creating customized monograms, abstract patterns, or meaningful quotes. For a professional finish, heat-set your design by ironing the reverse side of the fabric once the paint is completely dry (usually 24 hours). This helps make your design washing-machine safe.
Pro tip: Practice your design on scrap fabric first. For more intricate patterns, try using fabric paint markers instead of brushes. Create sets of complementary designs for a cohesive look, or make each pillow unique. These hand-painted pillows make thoughtful housewarming or anniversary gifts, especially when the design holds special meaning for the recipient.
Remember to allow adequate drying time between layers if using multiple colors, and always follow the specific instructions on your fabric paint for best results.
Personalized Table Linens
Transform ordinary table linens into personalized works of art with these simple yet stunning DIY techniques. Start with plain white or neutral-colored cotton or linen fabric cut to your desired dimensions. For a table runner, measure your table length and add 12 inches for overhang. Placemats typically measure 12×18 inches.
Create custom designs using fabric paint, stamps, or stencils. For a modern look, try geometric patterns using painter’s tape as guides. Natural elements like leaves can be pressed onto fabric with textile paint for an organic impression. Add personalization with hand-embroidered monograms or meaningful dates.
For a no-sew option, use fabric adhesive tape to hem the edges. If you’re comfortable with basic sewing, create a clean finish with mitered corners and a simple rolled hem. Make your linens extra special by incorporating family recipes in handwritten style, using permanent fabric markers.
Consider seasonal themes for holiday gifting, or match the recipient’s home decor with complementary colors and patterns. Protection is key – seal painted designs with heat setting according to paint instructions, and make sure all items are machine washable for practical everyday use.
These custom table linens make thoughtful housewarming or wedding gifts that will be treasured for years to come.
Handcrafted Storage Solutions
Customized Wooden Boxes
Transform simple wooden boxes into stunning personalized gifts with these creative techniques. Start with unfinished wooden boxes from your local craft store or create your own using thin plywood and wood glue. Sand all surfaces thoroughly for a smooth finish before beginning your customization.
For a rustic look, apply wood stain in your recipient’s favorite shade, then seal with clear polyurethane. Add personal touches by woodburning their initials, meaningful dates, or decorative patterns. If you prefer painting, use acrylic craft paint to create geometric designs, floral patterns, or even landscape scenes.
Make these boxes extra special by lining the interior with soft felt or decorative paper. Consider adding compartments using thin wooden dividers for jewelry or small treasures. For an elegant touch, attach decorative hardware like vintage handles or metallic corner protectors.
Complete your customized box with thoughtful details like a handwritten note inside or fill it with small gifts. These boxes make perfect storage solutions for everything from jewelry to keepsakes, while adding a personal touch to any room’s decor.
Painted Organization Systems
Transform ordinary storage containers into eye-catching organizational systems with a splash of creativity and paint. Start by selecting containers made of wood, metal, or sturdy cardboard that match your space requirements. Before painting, clean surfaces thoroughly and apply a suitable primer for better paint adhesion.
Choose colors that complement your existing decor or create an intentional contrast. Consider using chalk paint for a vintage look, or opt for high-gloss acrylics for a modern finish. Add personal touches with stenciled patterns, geometric designs, or hand-painted motifs. These painted organizers work beautifully as custom desk accessories or bathroom storage solutions.
For added functionality, label each container using metallic markers or adhesive vinyl lettering. Create cohesive sets by using a consistent color palette across multiple pieces. Remember to seal your finished work with a clear protective coating to ensure durability. These personalized storage solutions make thoughtful gifts while helping keep spaces tidy and stylish.
Personalized Wall Art
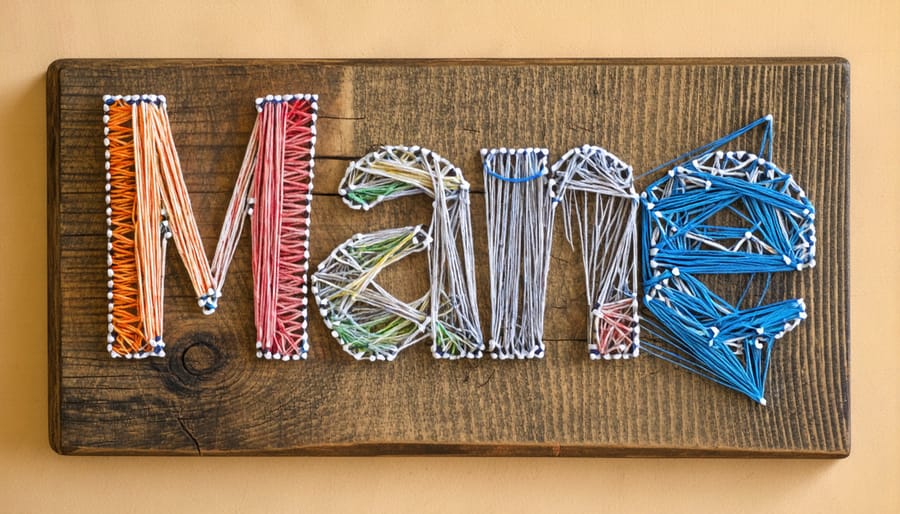
String Art Names
String art names create stunning personalized wall decor that combines the rustic charm of wood with elegant geometric patterns. To get started, select a wooden board and sand it smooth. Print your chosen name or design in a font you love, then outline the edges with small nails, spacing them about 1/2 inch apart. Once all nails are in place, remove the paper template.
Choose embroidery thread or thin string in your preferred colors. Begin by tying the string to any nail, then create your pattern by wrapping the string around different nails. For names, work one letter at a time, crisscrossing strings to fill in each shape. Layer multiple colors for added depth, or stick to a single shade for a clean, modern look.
For best results, keep your string tension consistent and secure all endpoints with small knots. Finish by spraying with clear sealant to protect your artwork. This thoughtful gift typically takes 2-3 hours to complete but creates a lasting, meaningful piece that recipients will treasure.
Custom Canvas Prints
Transform cherished photos and artwork into stunning wall displays with custom canvas prints. Start by selecting high-resolution images – family photos, digital artwork, or even your children’s drawings work beautifully. You’ll need a blank canvas, mod podge, gel medium, and a quality printer with photo paper.
Print your chosen image in reverse on regular paper using a laser printer. Apply a thick layer of gel medium to the canvas, then place the printed side down and smooth out any bubbles. Let it dry completely for 24 hours. Gently dampen the paper and carefully rub it off, revealing your transferred image underneath.
For added personalization, enhance your canvas with acrylic paint accents, hand-lettered quotes, or decorative borders. Seal the finished piece with a clear protective coating to ensure longevity. This technique creates gallery-worthy pieces that make thoughtful gifts for any occasion, from weddings to housewarmings.
Remember to choose images that complement your recipient’s decor style and consider sizing the canvas appropriately for their space.
Creating custom DIY gifts is more than just a money-saving alternative to store-bought items – it’s a heartfelt way to show someone you care while expressing your creativity. The personal touch you add to each project makes these handmade accessories truly one-of-a-kind, carrying stories and memories that mass-produced items simply can’t match.
Throughout this guide, we’ve explored various projects that cater to different skill levels and interests. Whether you’re crafting photo frames, designing custom jewelry, or creating personalized home decor, each piece you make carries your unique signature. The satisfaction of seeing your finished project displayed proudly in someone’s home or worn with joy is incomparable.
Remember, the key to successful DIY gifts lies in planning, patience, and attention to detail. Don’t be afraid to start small and gradually take on more complex projects as your confidence grows. The skills you develop along the way will serve you well in future creative endeavors.
So gather your supplies, let your imagination soar, and start creating meaningful gifts that will be cherished for years to come. Your DIY journey begins now!
