
Replace Your Attic Fan Motor Without Crawling Through the Roof
Replace your failing attic fan motor safely from inside your home without risking dangerous roof access. Diagnose motor failure through telltale signs like unusual noises, weak airflow, or complete shutdown before starting your attic fan installation project. Gather essential tools including a voltage tester, screwdrivers, wire nuts, and work gloves while ensuring proper attic ventilation and lighting for a safe working environment. This straightforward DIY repair saves hundreds in professional costs and extends your cooling system’s lifespan – typically completing in under two hours with basic mechanical skills. Master this essential home maintenance task using readily available replacement parts that match your existing motor’s specifications.
Safety First: Preparing for the Motor Replacement
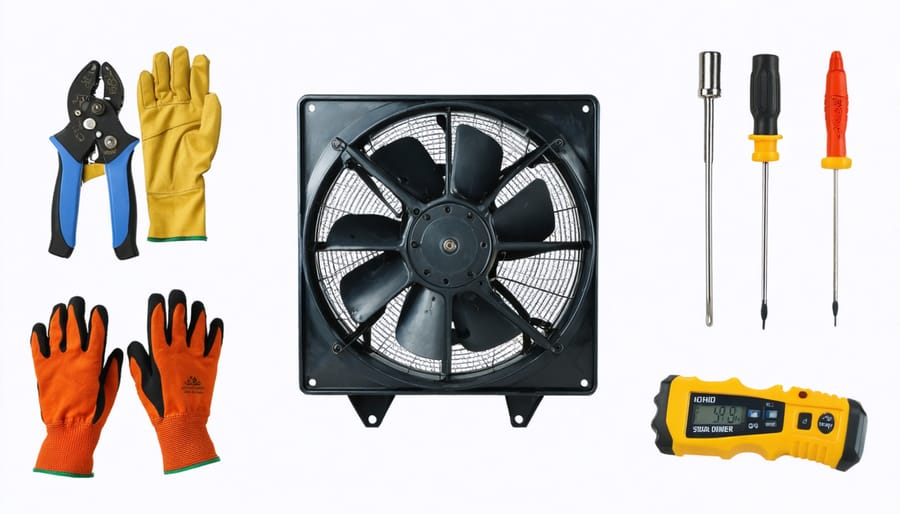
Required Tools and Materials
Before starting this project, gather these essential tools and materials:
Tools:
– Screwdriver set (Phillips and flathead)
– Wire strippers/cutters
– Voltage tester
– Adjustable wrench
– Work gloves
– Safety goggles
– Dust mask
– Flashlight or work light
– Pliers
– Socket set
Materials:
– Replacement attic fan motor (matching specifications)
– Wire nuts
– Electrical tape
– Mounting hardware (if not included with motor)
– Drop cloth
– Extension cord (if needed)
– Pen and paper (for documenting wire connections)
Optional but helpful:
– Camera/smartphone (for photographing original setup)
– Assistant (for handling tools and materials)
– Portable fan (for ventilation while working)
Make sure to verify your replacement motor’s specifications match the original before beginning the project.
Power and Safety Precautions
Before starting any work on your attic fan motor, turn off the power at the circuit breaker – not just the switch. Use a voltage tester to double-check that there’s no electricity flowing to the fan unit. It’s better to be extra cautious when dealing with electrical components.
Set up proper lighting in your attic workspace. A bright LED work light or headlamp will help you see clearly while keeping your hands free. Make sure you have a stable platform to work from – use sturdy boards across the joists to create a safe working surface.
Wear appropriate safety gear including:
– Dust mask or respirator
– Safety goggles
– Work gloves
– Long sleeves
– Knee pads
Clear the workspace around the fan of any insulation or stored items. You’ll need room to maneuver and access the fan unit comfortably. Keep your tools organized and within easy reach to avoid unnecessary movement on the joists.
Remember that attics can get extremely hot, so plan your work for the cooler morning hours and take regular breaks. Have a partner nearby who can assist if needed and monitor your safety.
Accessing Your Attic Fan From Inside
Locating and Examining the Motor
Once you’ve accessed your attic, locate the attic fan housing, which is typically mounted near the roof peak. You’ll find the motor assembly attached to the center of the fan, usually held in place by mounting brackets or bolts. Using your flashlight, examine the motor housing for any visible damage, rust, or loose connections.
Pay attention to the wiring connections and note their configuration – taking a quick photo with your phone can be helpful for reassembly later. Check if the motor spins freely by hand when the power is off. If you feel resistance or hear grinding, this confirms the need for replacement.
Look for the motor’s specification plate or label, which contains important information about voltage, horsepower, and rotation direction. This information will be crucial when purchasing your replacement motor. Also, inspect the mounting bracket system to understand how the motor is secured. Some motors are held by simple clip systems, while others use more complex bolt patterns.
Before proceeding with removal, ensure you have clear access to all mounting points and electrical connections. If insulation is blocking your way, carefully move it aside to create a comfortable working space.
Documenting the Current Setup
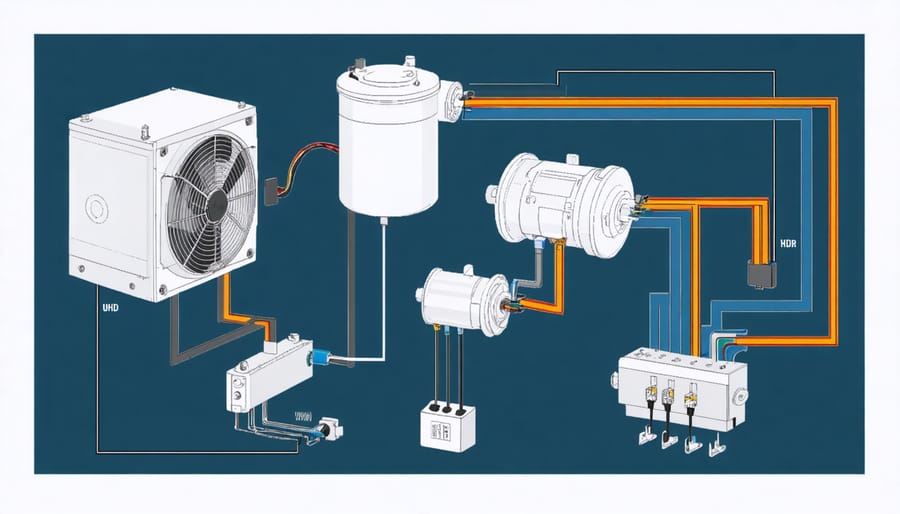
Before diving into the replacement process, take a few minutes to document your current proper fan setup. Use your smartphone to snap clear photos of the existing motor from multiple angles, paying special attention to how the wires connect to the motor terminals. Label each wire with colored tape or stickers, matching them to their corresponding terminals. Make a quick sketch or diagram showing the motor’s mounting position and note which side faces up.
Take measurements of the space between mounting brackets and record the motor’s specifications from its label – this information will be invaluable when installing the replacement. Create a checklist of all wire colors and their connections, including any ground wires. If your motor has a capacitor, document its position and how it’s connected.
Consider recording a short video walking through the current setup, focusing on any unique features or installation quirks. This visual reference can be incredibly helpful during reassembly and ensures your new motor will be positioned correctly for optimal performance.
Step-by-Step Motor Replacement Process
Removing the Old Motor
Before removing the old motor, ensure the power is completely disconnected. Take a photo of the current wiring configuration with your smartphone – this will be invaluable when installing the new motor. Look for the motor’s mounting brackets, which typically consist of three or four bolts securing it to the fan housing.
Using your socket wrench or screwdriver, carefully loosen and remove these mounting bolts while supporting the motor’s weight. Keep all hardware organized in a small container – you’ll likely need these parts for the new installation.
Next, disconnect the motor’s electrical connections. There should be two or three wires connecting the motor to your home’s electrical system. Note the color coding of these wires and which terminals they connect to. If the wires are connected with wire nuts, untwist them carefully. For quick-connect terminals, simply pull them apart while holding the base firmly.
Once all electrical connections are free, gently lower the motor. Be careful – these motors can be quite heavy! If possible, have someone assist you with this step to prevent strain or accidental damage. Remove any remaining mounting hardware or brackets attached to the old motor that you might need to transfer to the new unit.
Clean the mounting area thoroughly, removing any dust or debris that could interfere with the new installation. Inspect the fan blade and mounting area for any signs of damage that might need addressing before installing the new motor.
Installing the New Motor
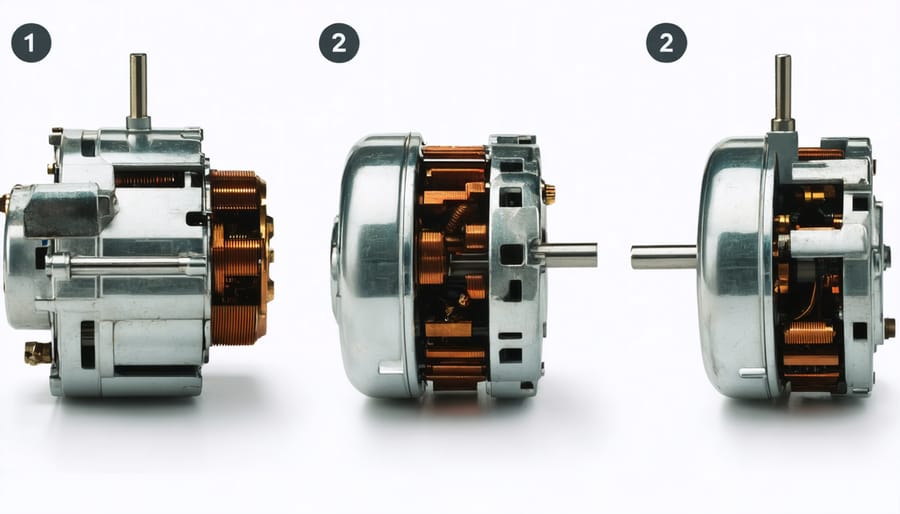
Now that you’ve removed the old motor, it’s time to install the new one. Start by carefully aligning the new motor with the mounting bracket, making sure the shaft is properly centered. Place the motor so the wiring box is easily accessible for connections.
Secure the motor to the mounting bracket using the hardware provided in your replacement kit. Most motors come with rubber isolation mounts to reduce vibration – be sure to install these if included. Tighten all mounting bolts evenly, but don’t overtighten as this could damage the mounts.
Next, connect the electrical wires following your earlier diagram or photos. Match the wire colors (typically black to black, white to white, and green or bare copper to ground) and secure each connection with wire nuts. Gently tuck the wires into the junction box and replace its cover.
Reattach the fan blade to the motor shaft, ensuring it’s properly balanced and centered. Secure it with the set screw or other provided fastening mechanism. Give the blade a gentle spin by hand to check for any wobbling or resistance.
Before closing everything up, double-check all your connections and make sure all mounting hardware is tight. This attention to detail now will prevent issues later and ensure your new motor operates smoothly and quietly.
Testing and Adjustments
After installing the new motor, turn on the power and test the fan’s operation. Listen for any unusual noises and observe the fan’s rotation. The blades should spin smoothly without wobbling or vibrating excessively. If you notice any issues, turn off the power immediately and check your connections.
Make sure the fan is rotating in the correct direction – it should pull air upward through the attic and exhaust it outside. If it’s spinning the wrong way, you’ll need to reverse the motor’s wiring according to the manufacturer’s instructions.
Check that the fan speed matches your previous setup. Some replacement motors come with adjustable speed settings that you can fine-tune using the motor’s built-in controls. Allow the fan to run for 15-20 minutes to ensure it maintains proper operation without overheating.
Troubleshooting Common Issues
Even with careful preparation, you might encounter some common issues during your attic fan motor replacement. If the new motor isn’t running after installation, first verify all wire connections are secure and correctly matched by color. Double-check that the power supply is turned on at the circuit breaker.
If you hear unusual noises after installation, this typically indicates improper mounting or loose hardware. Ensure all mounting brackets are tight and the motor is properly aligned with the fan blade. Sometimes, slight adjustments to the blade position can eliminate wobbling or scraping sounds.
When the motor runs but the fan spins slowly, check that you’ve installed the correct capacitor rating and that the blade isn’t hitting any obstacles. Also verify that the new motor’s specifications match your original unit’s requirements.
For overheating issues, confirm proper ventilation around the motor and ensure the thermostat is correctly set. If the motor keeps shutting off, this could indicate either a faulty thermostat or improper wiring connections.
Remember that some problems might require professional intervention. If you’ve tried these solutions and still experience issues, or if you encounter electrical problems beyond your expertise, don’t hesitate to contact a qualified electrician. Safety should always be your primary concern when dealing with electrical components.
Replacing your attic fan motor from inside is a rewarding DIY project that can save you significant money while extending the life of your ventilation system. Not only does it eliminate the need for professional services, but it also gives you valuable hands-on experience with your home’s maintenance. Remember to perform regular checks on your fan’s operation and keep the area around it clean for optimal performance. Following proper DIY home maintenance tips will help prevent future issues and extend the life of your new motor. Consider setting up a maintenance schedule to check the fan’s operation seasonally, and always keep your manual and warranty information handy. With proper care and attention, your newly installed attic fan motor should provide years of reliable service, keeping your home properly ventilated and energy-efficient.
