
Build Your Energy Freedom: DIY Solar System That Actually Powers Your Home
Transform your property into a self-sustaining energy hub by mastering solar panel installation basics and building your own off-grid power system. Calculate your daily energy requirements by tracking appliance usage, then multiply by 1.3 to account for system losses and seasonal variations. Design your solar array to generate 20-30% more power than needed, ensuring reliable performance during shorter winter days and cloudy conditions.
A properly sized off-grid system combines solar panels, charge controllers, deep-cycle batteries, and inverters to deliver consistent power without utility connections. Modern DIY solar kits now make installation accessible to homeowners with basic technical skills, offering pre-configured components and detailed mounting instructions that eliminate guesswork.
Start small with a basic 2-4 panel setup powering essential circuits, then expand systematically as your comfort level grows. This modular approach reduces initial costs while providing hands-on experience with solar technology fundamentals. Focus on proper wire sizing, weatherproof connections, and strategic panel placement to maximize sun exposure and system efficiency.
Planning Your Off-Grid Solar System
Calculate Your Power Needs
Before diving into solar panel installation, you’ll need to accurately calculate your power requirements. Like other sustainable home improvements, proper sizing ensures your system meets your needs while remaining among the most cost-effective home upgrades you can make.
Start by listing all your electrical appliances and devices, noting their wattage ratings. These are usually found on product labels or manuals. Multiply each device’s wattage by the number of hours you use it daily to get watt-hours (Wh). For example, a 60W light bulb used for 5 hours equals 300Wh per day.
Add up all your daily watt-hours to get your total daily energy consumption. Then, multiply this number by 1.3 to account for system losses and provide a safety margin. This gives you your actual daily power requirement.
For year-round reliability, consider seasonal variations in sunlight. If you live in an area with frequent cloudy days or shorter winter daylight hours, you’ll need additional panels to compensate. A good rule of thumb is to add 20-30% capacity for winter months.
To determine battery capacity, multiply your daily requirement by the number of days you want to operate without sunlight (usually 2-3 days). This ensures you’ll have enough stored power during periods of low solar production.
Essential Components Checklist
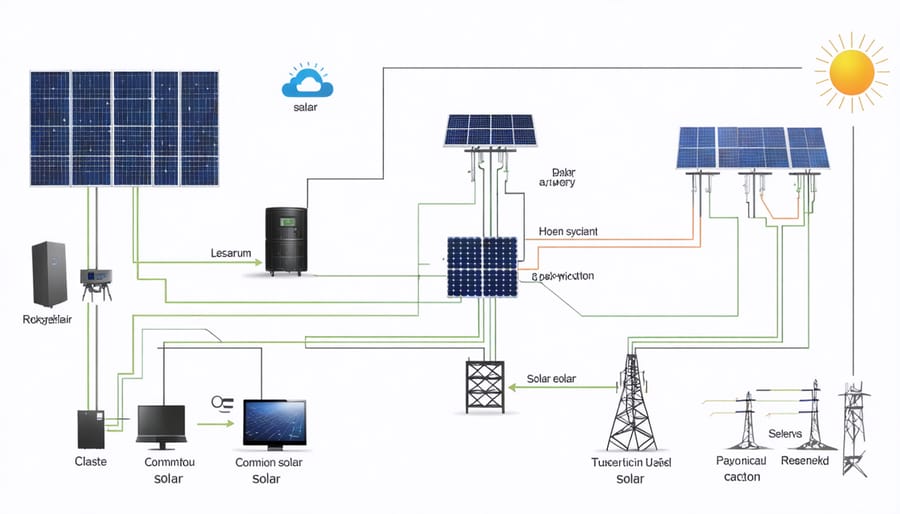
Before starting your DIY solar panel system project, make sure you have all these essential components ready:
Solar Panels
• High-quality photovoltaic panels (calculate quantity based on your power needs)
• Mounting brackets and rails
• MC4 connectors and solar cables
Battery Bank
• Deep-cycle batteries (lithium or lead-acid)
• Battery cables and connectors
• Battery monitor
• Protective battery box or enclosure
Charge Controller
• MPPT or PWM controller (sized for your system)
• Temperature sensor
• Connection cables
Power Inverter
• Pure sine wave inverter
• DC disconnect switch
• AC breaker panel
Safety Equipment
• Circuit breakers
• Lightning arrestor
• Ground fault protector
• Surge protection devices
Installation Materials
• Mounting hardware
• Conduit and weatherproof junction boxes
• Wire management clips
• Weather-resistant cable ties
• Electrical tape and wire nuts
Tools
• Multimeter
• Wire strippers/crimpers
• Socket set and wrenches
• Level and measuring tape
• Drill and drill bits
• Safety equipment (gloves, safety glasses)
Documentation
• System design plans
• Component manuals
• Wiring diagrams
• Local permits (if required)
Pro tip: Always buy components that are compatible with each other and rated for outdoor use. Consider purchasing a pre-packaged kit for easier component matching and installation.
Setting Up Your Solar Array
Mounting Location and Angle
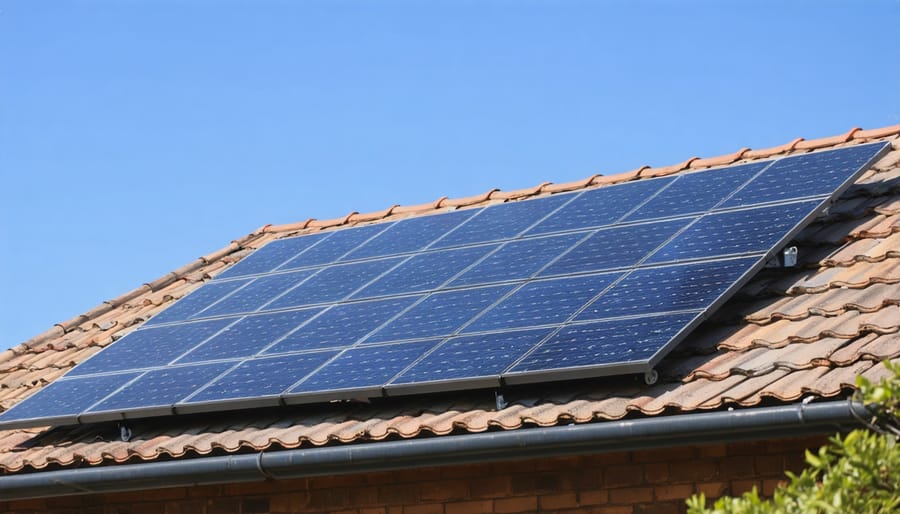
Choosing the right mounting location and angle for your solar panels is crucial for maximizing their efficiency as part of your energy-efficient home solutions. Start by identifying a south-facing location (in the Northern Hemisphere) that receives maximum sunlight throughout the day. Your roof is often ideal, but ground mounts can work well too if you have the space.
Check for any potential shade sources like trees, buildings, or chimneys. Even partial shade can significantly reduce your system’s output. If possible, conduct a shade analysis throughout different times of the day and seasons.
For optimal performance, your panels should be tilted at an angle equal to your geographical latitude. For example, if you’re at 40° latitude, aim for a 40° tilt. However, you can adjust this angle slightly – increase it by 15° in winter or decrease it by 15° in summer for seasonal optimization.
When mounting on your roof, ensure the underlying structure can support the additional weight. Check your roof’s condition and make any necessary repairs before installation. For ground mounts, consider factors like soil stability and local building codes. Either way, make sure your mounting hardware is corrosion-resistant and rated for outdoor use.
Remember to leave enough space between panels for maintenance access and proper airflow, which helps maintain efficiency.
Panel Installation Steps
Start by mounting your solar panel brackets securely to your roof or ground mount location. If installing on a roof, locate the rafters using a stud finder and mark their positions. Pre-drill holes for your mounting brackets, applying weather-proof sealant around each hole to prevent water infiltration.
Attach the mounting rails to your brackets, ensuring they’re perfectly level using a spirit level. The rails should be parallel to each other and spaced according to your panel specifications. Double-check all measurements before final tightening.
Next, carefully lift your solar panels onto the mounting rails. It’s best to have a helper for this step to avoid damage or injury. Secure the panels to the rails using the provided clamps – middle clamps between panels and end clamps at the edges. Leave a small gap between panels for thermal expansion.
Connect your panels in series or parallel according to your system design. Use MC4 connectors to link the positive and negative cables between panels, ensuring connections are weatherproof and secure. Run the main cables through conduit to protect them from the elements.
Finally, ground your solar array properly using copper wire connected to your grounding rod. Test all connections with a multimeter before connecting to your charge controller. Remember to work during dry weather conditions and always prioritize safety when working at height.
Wiring Your Solar Array
Proper wiring is crucial for your solar array’s safety and efficiency. Start by connecting your solar panels in series to achieve the desired voltage – this means linking the positive terminal of one panel to the negative terminal of the next. For most home systems, you’ll want to create 2-3 separate strings of panels.
Always use proper solar cable (typically 10 or 12 AWG) with UV-resistant insulation. Make sure all connections are weather-tight using MC4 connectors, which are industry-standard and provide a reliable, waterproof seal. Double-check that your wire gauge can handle the expected current – undersized wiring can create fire hazards.
When running cables from your roof to your charge controller, use conduit to protect the wires from weather and physical damage. Keep positive and negative cables close together to minimize electromagnetic interference, but never bundled in a way that could cause shorts.
Remember to install disconnect switches on both the DC and AC sides of your system. These are essential safety features that allow you to cut power when performing maintenance. Label all wiring clearly with indicators showing polarity and circuit identification.
Before making final connections, use a multimeter to verify proper voltage and polarity. Take your time with each connection – rushing this step is a common cause of system failures and safety issues.
Battery Bank and Power Storage
Battery Selection and Setup
Selecting the right batteries is crucial for your off-grid solar system’s success. Deep-cycle lead-acid batteries and lithium-ion batteries are the two main options, each with distinct advantages. While lead-acid batteries are more budget-friendly, lithium-ion batteries offer better efficiency and longer lifespan, similar to those used in modern home ventilation systems.
For a typical off-grid home setup, you’ll want to calculate your daily power usage and multiply it by the number of days you want backup power (usually 2-3 days). This determines your battery bank size. For example, if you use 5kWh daily and want 3 days of backup, you’ll need at least 15kWh of storage capacity.
When installing your batteries, place them in a well-ventilated, temperature-controlled space. Connect them in series for higher voltage or parallel for increased capacity, depending on your system requirements. Always use proper safety equipment, including gloves and eye protection, when handling batteries.
Remember to install a battery monitor to track charge levels and a charge controller to prevent overcharging. Label all connections clearly and ensure proper terminal connections to avoid short circuits. Regular maintenance checks will help extend your battery bank’s life and maintain optimal performance.
Battery Maintenance Tips
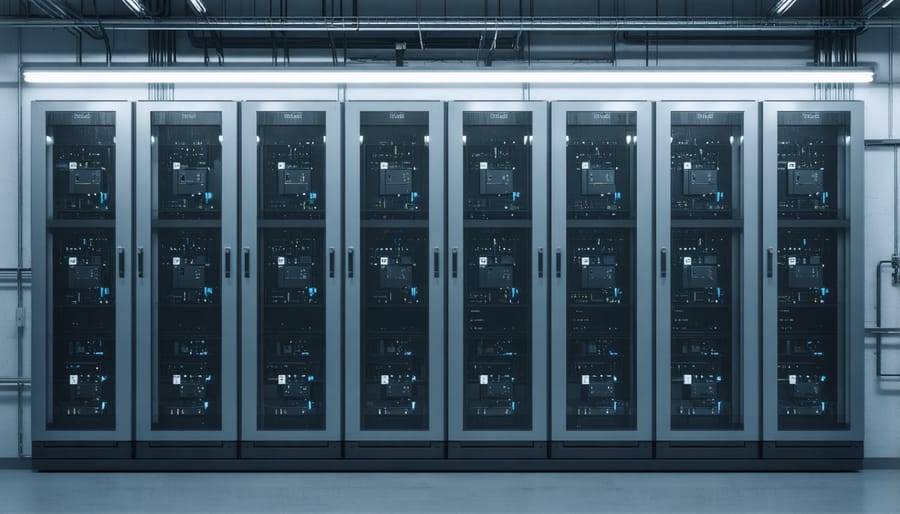
Proper battery maintenance is crucial for keeping your off-grid solar system running efficiently for years to come. Start by installing your batteries in a well-ventilated, temperature-controlled space – ideally between 68-77°F (20-25°C). This helps prevent overheating and extends battery life.
Check your battery connections monthly for corrosion and clean them with a mixture of baking soda and water when needed. Ensure all terminals are tight but not overtightened. Use petroleum jelly on terminals after cleaning to prevent future corrosion.
Monitor your battery’s state of charge regularly using a quality battery monitor. Avoid letting lead-acid batteries discharge below 50% capacity, as deep discharges can significantly reduce their lifespan. For lithium batteries, you can safely go down to 20% charge.
Keep detailed maintenance logs of battery voltage readings, specific gravity (for flooded lead-acid batteries), and any maintenance performed. This helps track battery health over time and predict when replacement might be needed.
Top up flooded lead-acid batteries with distilled water when needed, maintaining proper electrolyte levels. Never use tap water, as minerals can damage your batteries. For sealed batteries, simply keep them clean and dust-free.
Test your batteries’ capacity annually to ensure they’re still performing well. Replace any batteries showing significant capacity loss to maintain system efficiency.
System Integration and Testing
Charge Controller Installation
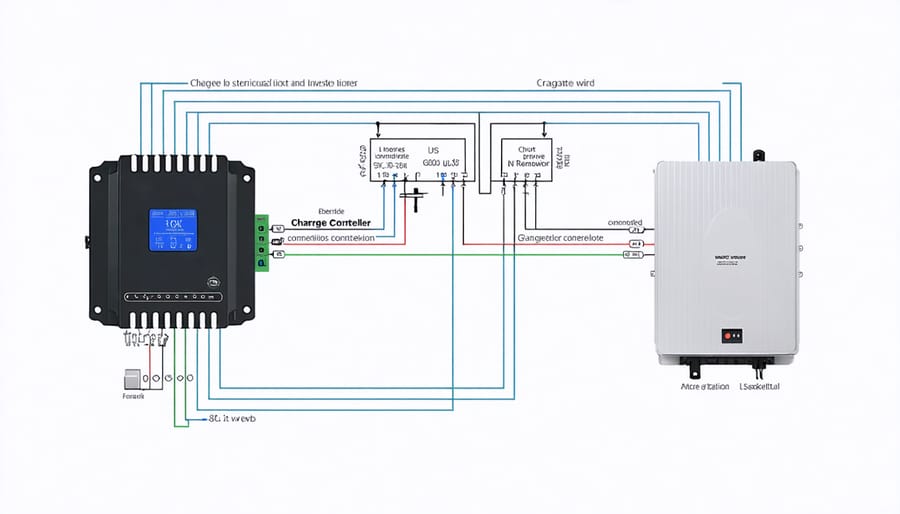
The charge controller is the brains of your solar power system, regulating the voltage and current from your solar panels to safely charge your batteries. Start by mounting the controller on a vertical surface in a dry, well-ventilated area, ideally close to your battery bank to minimize voltage drop.
Before making any connections, ensure your solar panels and batteries are disconnected. Connect the battery to the charge controller first – this allows the controller to recognize the system voltage. Always connect the positive (red) and negative (black) cables to their corresponding terminals, double-checking the polarity to prevent damage to your equipment.
Next, connect your solar panels to the charge controller’s PV (photovoltaic) terminals. If you’re using multiple panels, make sure they’re properly wired in series or parallel according to your system design. Most modern charge controllers feature an LCD display showing important system information like battery voltage, charging current, and state of charge.
For MPPT (Maximum Power Point Tracking) controllers, you’ll need to program the battery type and charging parameters. Most controllers come preset for standard lead-acid batteries, but if you’re using lithium or other battery types, adjust the settings accordingly.
Once everything is connected, activate the system in this order: battery first, then solar panels. Watch the controller’s display to ensure it’s reading the correct voltage and charging properly. Many controllers include built-in protection against reverse polarity, overcharging, and short circuits, but it’s still crucial to follow proper installation procedures.
Remember to secure all connections and use appropriately sized cables to prevent voltage drop and ensure safe operation.
Inverter Setup
The inverter is the heart of your off-grid solar system, converting DC power from your batteries into usable AC power for your home appliances. Start by selecting a mounting location that’s cool, dry, and well-ventilated, ideally near your battery bank to minimize cable length. The wall should be sturdy enough to support the inverter’s weight.
Before mounting, mark your drill points using the inverter’s mounting bracket as a template. Install the bracket securely with appropriate anchors and bolts. Most inverters can be heavy, so it’s wise to have a helper when lifting it onto the mounting bracket.
Connect your inverter to the battery bank using properly sized cables – typically, these should be as short as possible to minimize power loss. Always connect the negative (black) cable first, followed by the positive (red). Double-check all connections are tight and secure.
Next, connect your AC output wiring. This typically involves installing a separate sub-panel for your off-grid circuits. If you’re not completely confident with electrical work, this is the point where you should consider hiring a licensed electrician. The AC connections must meet local electrical codes and usually require proper permits.
Don’t forget to ground your inverter according to manufacturer specifications. This is crucial for safety and proper operation. Once everything is connected, perform a test by turning on the inverter and checking the display panel for any error messages. Start with a small load, like a lamp, before gradually adding more demanding appliances to ensure everything works as expected.
Remember to keep the area around your inverter clear for proper ventilation and easy access for future maintenance.
System Testing and Monitoring
Once your off-grid solar system is installed, regular testing and monitoring are crucial to ensure optimal performance. Start by checking all connections with a multimeter to verify proper voltage readings across your panels, batteries, and inverter. Make sure to test during peak sunlight hours for the most accurate results.
Install a solar monitoring system to track your energy production and consumption in real-time. Many modern charge controllers come with built-in monitoring capabilities, allowing you to view performance data through a smartphone app. Keep an eye on your battery voltage levels – they should stay within the recommended range for your specific battery type.
Create a simple maintenance checklist and perform weekly visual inspections. Look for any loose connections, signs of wear, or debris on your panels. Monitor your system’s efficiency by comparing actual energy production with expected output based on your location and system size.
Pay attention to unusual changes in performance. A sudden drop in energy production could indicate a problem that needs addressing. Keep a log of your system’s performance, including daily energy production, battery levels, and any maintenance performed. This documentation will help you identify patterns and troubleshoot issues more effectively.
If you notice any significant problems or aren’t comfortable performing certain tests, don’t hesitate to consult with a qualified solar technician. Regular monitoring will help extend your system’s lifespan and ensure reliable power generation for years to come.
Building your own off-grid solar panel system is an empowering project that can lead to significant energy independence and cost savings. By following the steps we’ve covered, you’re well-equipped to create a sustainable power solution for your property. Remember to start with a thorough assessment of your energy needs, carefully plan your system components, and ensure you have all necessary permits before beginning installation.
Safety should always be your top priority throughout the installation process. If you’re unsure about any electrical connections or mounting procedures, don’t hesitate to consult with a professional. Regular maintenance of your system, including cleaning panels and checking batteries, will help ensure optimal performance and longevity.
Your next steps should include:
– Calculating your specific energy requirements
– Sourcing quality components from reputable suppliers
– Creating a detailed installation timeline
– Securing necessary permits and inspections
– Assembling your toolkit and safety equipment
– Setting up a maintenance schedule
With proper planning and execution, your DIY solar panel system can provide reliable off-grid power for years to come. Start small if needed, and expand your system as you become more comfortable with the technology. The initial investment of time and money will pay off through reduced energy bills and increased energy independence, making this an excellent choice for sustainable living.
