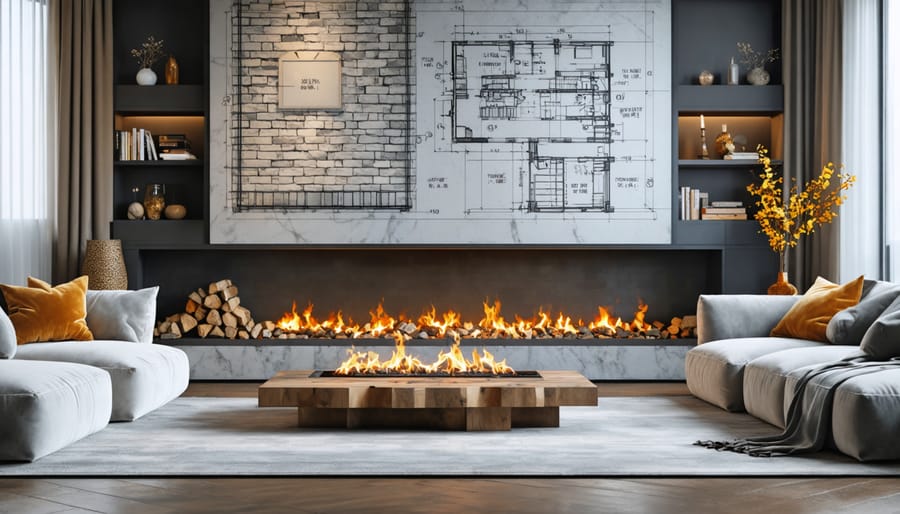
Build Your Dream Fireplace: A Safe and Beautiful DIY Project
Transform your home’s ambiance with a custom-built fireplace that adds both warmth and value. Building your own fireplace requires careful planning, precise execution, and strict adherence to safety codes, but the result delivers lasting satisfaction and significant cost savings compared to professional installation. Before starting your DIY fireplace basics project, gather detailed architectural drawings, obtain necessary permits, and consult local building regulations to ensure compliance.
A well-designed fireplace construction plan addresses three critical elements: structural integrity, proper ventilation, and heat management. Your blueprint must include specific measurements for the foundation, firebox dimensions, chimney specifications, and clearance requirements for combustible materials. Modern fireplace designs can incorporate smart features like automated damper controls and heat-distribution systems, making your project both traditional and technologically advanced.
Whether you’re planning a classic brick masterpiece or a contemporary stone showcase, success hinges on thorough preparation and attention to detail. Focus on selecting appropriate materials, establishing correct measurements, and creating a detailed timeline that accounts for inspection checkpoints throughout the construction process. With proper planning, your fireplace will become the stunning centerpiece you envision while meeting all safety requirements and building codes.
Essential Planning and Safety Requirements

Local Building Codes and Permits
Before starting your fireplace project, you’ll need to navigate the essential world of building codes and permits. Most municipalities require specific approvals for fireplace construction, and for good reason – proper permitting ensures both safety and compliance with local regulations.
Start by contacting your local building department to understand the specific requirements in your area. You’ll typically need to submit detailed construction plans, including dimensions, materials list, and ventilation specifications. Many jurisdictions also require clearance documentation showing safe distances from combustible materials and proper chimney height calculations.
Don’t forget to check if your neighborhood has any HOA restrictions or historical district requirements that might affect your fireplace design. Some areas may have specific rules about chimney appearance or placement.
The permit process usually involves multiple inspections: one before construction begins, several during the building process, and a final inspection upon completion. These checkpoints ensure your fireplace meets all safety standards and building codes.
Working with a certified inspector or contractor during the planning phase can help streamline the permit process. They’re familiar with local requirements and can spot potential issues before they become expensive problems. Remember, skipping permits might save money initially, but it can lead to costly repairs, fines, or complications when selling your home.
Site Selection and Preparation
Selecting the perfect location for your fireplace is crucial when creating a cozy centerpiece for your home. Start by identifying a spot that maximizes both heat distribution and visual appeal. Interior walls are often ideal, but exterior walls can work well with proper insulation.
Before breaking ground, ensure your chosen location meets local building codes and safety requirements. The floor must be able to support the fireplace’s weight, typically requiring reinforcement for masonry structures. Keep minimum clearance distances in mind: at least 36 inches from combustible materials on all sides.
Survey the area above your planned fireplace location. The chimney needs a clear, straight path through the roof, avoiding any structural elements or utilities. Check for overhead obstacles like electrical wiring, plumbing, or HVAC ducts that might need relocation.
Once you’ve confirmed the location, prepare the site by:
– Marking the footprint with chalk lines
– Removing any flooring material to expose the subfloor
– Installing proper floor support if needed
– Creating a level surface for construction
– Setting up temporary barriers to protect surrounding areas
– Ensuring adequate ventilation during construction
Remember to check for underground utilities before any foundation work begins, and obtain necessary permits from your local building department.
Materials and Tools Checklist
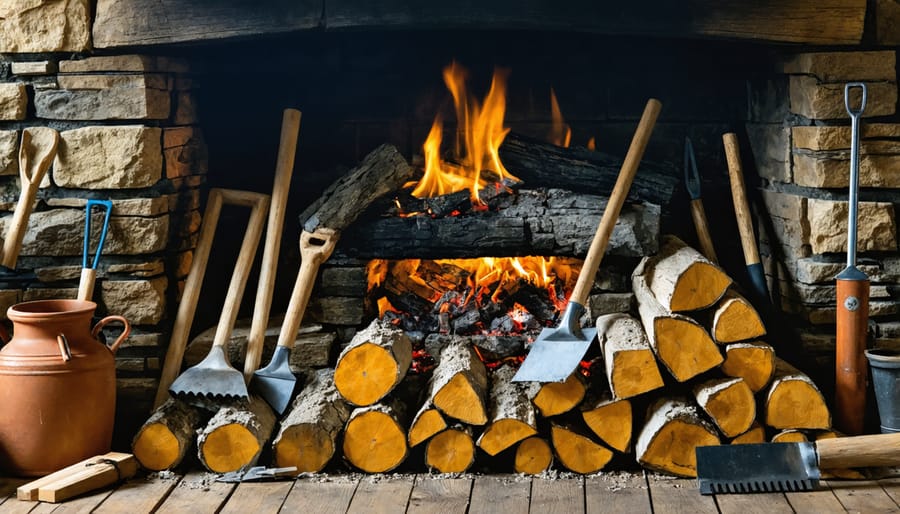
Construction Materials
Building a fireplace requires careful selection of materials that can withstand high temperatures and meet local building codes. Before you begin, check out these cost-saving construction tips to help manage your budget effectively.
For the foundation and base, you’ll need:
– Concrete mix and aggregate
– Steel reinforcement bars
– Waterproof membrane
– Gravel for drainage
The core fireplace structure requires:
– Fire-rated bricks or concrete blocks
– Refractory mortar (rated for high temperatures)
– Fire clay for joints
– Damper assembly
– Steel lintels and support plates
For the chimney construction:
– Chimney flue liners (clay or stainless steel)
– Chimney cap
– Flashing materials (copper or aluminum)
– Weather-resistant mortar
Finishing materials include:
– Facing bricks or stone
– Decorative mantel (wood, stone, or manufactured)
– Hearth materials (granite, slate, or brick)
– Heat-resistant sealant
Additional safety materials:
– Fire-resistant caulk
– Spark arrestor
– Carbon monoxide detector
– Fire-rated insulation
Remember to source materials from reputable suppliers and ensure all components meet or exceed local fire safety standards. Purchase extra materials (about 10% more than calculated) to account for waste and potential mistakes during construction.
Essential Tools
Before starting your fireplace construction project, gather these essential tools to ensure a smooth and safe building process. You’ll need measuring tools including a tape measure, level, speed square, and chalk line for accurate layouts. For masonry work, have a quality mason’s trowel, pointing tool, brick hammer, and mixing tools for mortar.
Safety equipment is non-negotiable – make sure you have safety glasses, work gloves, a dust mask or respirator, steel-toed boots, and knee pads. For cutting materials, you’ll need a masonry saw, hammer drill with various bits, and a regular hammer. Keep a wheelbarrow handy for mixing and moving materials.
Additional must-haves include:
– Mixing bucket and hoe
– String line and mason’s line blocks
– Utility knife
– Caulking gun
– Heavy-duty shovel
– Plumb bob
– Work platforms or scaffolding
– First aid kit
Store all tools in a dry, secure location and inspect them before each use. Having the right tools not only makes the job easier but also ensures better results and safer working conditions.
Step-by-Step Construction Process
Foundation and Base Construction
A solid foundation is crucial for your fireplace project’s success and safety. Before laying the first brick, you’ll need to ensure you meet all level foundation requirements for your specific location and fireplace design.
Start by excavating the area to a depth of at least 12 inches below the frost line in your region. The foundation footprint should extend at least 6 inches beyond your planned fireplace dimensions on all sides. Create a form using 2×12 lumber and reinforce it with steel rebar in a grid pattern, typically spaced 12 inches apart.
Mix and pour concrete using a 4:2:1 ratio (gravel:sand:cement) to achieve optimal strength. The concrete should be at least 12 inches thick and perfectly level. Use a concrete vibrator to eliminate air pockets and ensure even distribution. Allow the foundation to cure for a minimum of 7 days before proceeding with construction.
For added moisture protection, apply a waterproof membrane once the concrete has fully cured. Install a layer of gravel around the perimeter for proper drainage, and consider adding a French drain system if your area experiences frequent rainfall.
Before moving forward, have your foundation inspected by a local building official to ensure it meets all code requirements. This step is essential for both safety and legal compliance, and it’ll save you potential headaches down the road.
Firebox Assembly
The firebox is the heart of your fireplace, and proper construction is crucial for safety and efficiency. Begin by laying out the firebox dimensions on your foundation, typically 36 inches wide by 28 inches deep for a standard-sized fireplace. Mark these measurements clearly with chalk lines.
Start with the back wall, using firebricks laid in a running bond pattern. Mix your refractory mortar according to manufacturer specifications – this special heat-resistant mortar is essential for firebox construction. Apply mortar approximately 3/8 inch thick between each brick, ensuring complete coverage.
Build the side walls next, angling them slightly outward (about 15 degrees) to reflect heat into the room. Maintain consistent mortar joints and check frequently with a level to ensure walls remain plumb. The side walls should rise to meet your planned opening height, typically 24-30 inches.
For the firebox floor, create a slight slope toward the front (about 1/4 inch per foot) to prevent ash and embers from collecting at the back. Lay firebricks in a herringbone pattern for added stability and visual appeal. Leave no gaps between bricks, as these could become safety hazards.
Complete the firebox by installing a steel lintel across the front opening to support the facing material. Add a steel damper at the top of the firebox before beginning throat construction. Test fit the damper to ensure smooth operation before securing it permanently.
Remember to maintain consistent 1/2-inch joints between firebricks throughout the entire assembly. Clean excess mortar as you work to achieve a professional finish and ensure optimal heat resistance.
Chimney Construction
The chimney is a critical component of your fireplace system, serving as the primary ventilation pathway for smoke and gases. Begin by determining the appropriate chimney size based on your fireplace opening – a general rule of thumb is that the chimney’s cross-sectional area should be about 1/12 of the fireplace opening area.
Start construction from the foundation up, ensuring your chimney base is properly supported. Use fire-rated masonry materials, typically fire clay bricks or concrete blocks specifically designed for chimney construction. Each course of bricks should be laid with refractory mortar, which withstands high temperatures better than standard mortar.
Install a chimney liner to protect your masonry from corrosive byproducts. Stainless steel liners are popular for their durability and ease of installation, though clay tile liners are also common. Ensure proper clearance between the chimney and any combustible materials – typically 2 inches for masonry chimneys.
Include clean-out doors at the base of the chimney for regular maintenance access. As you build upward, maintain plumb (perfectly vertical) construction using a level at every few courses. Install a chimney cap at the top to prevent rain, snow, and wildlife from entering while allowing smoke to escape.
Remember to incorporate proper flashing where the chimney penetrates the roof to prevent water infiltration. The chimney should extend at least 3 feet above the roof and 2 feet higher than any part of the building within 10 feet. This height requirement ensures proper draft and helps prevent downdrafts that could push smoke back into your home.
Finishing Touches
Now that the basic structure is complete, it’s time to add those special touches that will make your fireplace truly stunning. Start by selecting your preferred mantel style – whether you’re drawn to classic wood, sleek marble, or rustic stone, the mantel sets the tone for your entire fireplace design. Check out our collection of fireplace design ideas for inspiration on different mantel styles and decorative elements.
Consider adding a hearth extension that complements your chosen materials while providing essential protection for your flooring. Popular options include matching stone tiles, decorative ceramic, or coordinating marble pieces. Install accent lighting above or around the mantel to highlight architectural details and create ambiance.
For a polished look, carefully caulk all seams and joints with high-temperature silicone caulk, paying special attention to where different materials meet. Apply a heat-resistant sealer to natural stone surfaces to protect against soot and make cleaning easier. If you’ve chosen brick, consider whether you want to leave it natural or apply a whitewash treatment for a more contemporary feel.
Don’t forget practical additions like a built-in wood storage nook or decorative screens. Install any smart home integration features now, such as remote-controlled dampers or LED ambient lighting. Finally, add your chosen decorative touches – whether that’s vintage tools, mirrors, or artwork – to complete the look and make the space truly yours.
Remember to test all mechanical components and perform a final safety check before your first fire. Keep manufacturer instructions for all installed components in a safe place for future reference.
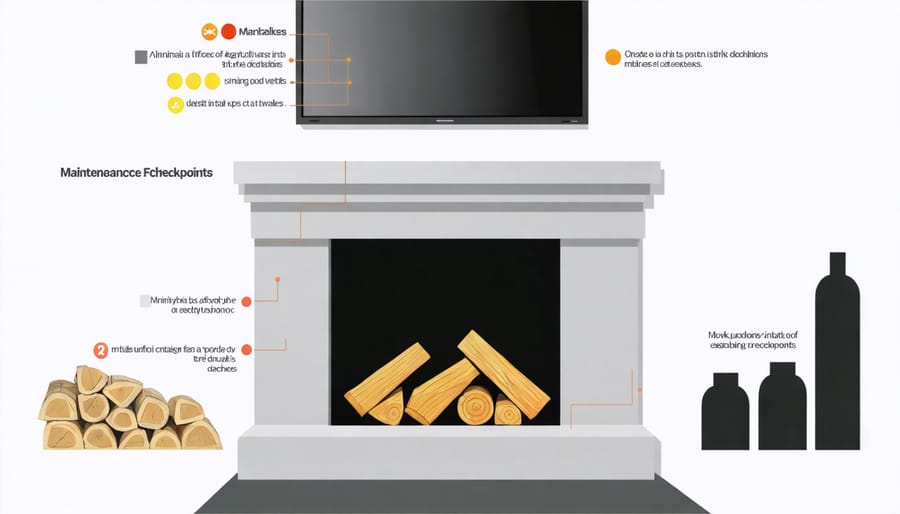
Maintenance and Safety Tips
Regular maintenance and proper safety protocols are essential for keeping your fireplace both functional and safe. Start by scheduling annual inspections with a certified chimney sweep before the burning season begins. They’ll check for creosote buildup, structural issues, and ensure proper ventilation.
Keep a maintenance calendar and inspect your fireplace monthly during the burning season. Clean the firebox regularly, removing ashes once they’ve completely cooled. Never let ashes accumulate more than an inch deep, as this can restrict airflow and create unsafe conditions.
Install carbon monoxide and smoke detectors near your fireplace and test them monthly. Keep a fire extinguisher rated for wood fires within easy reach, and make sure everyone in your household knows how to use it. Create a clear zone of at least three feet around your fireplace, free from furniture, decorations, and flammable materials.
When using your fireplace, always open the damper fully before lighting a fire. Use only seasoned hardwood that’s been dried for at least six months. Avoid burning treated wood, paper products, or trash, as these can create dangerous chemicals and excess creosote.
Check your chimney cap regularly for damage or obstruction, especially after storms. Repair any cracks in the mortar or bricks immediately to prevent moisture damage and maintain structural integrity. Consider installing a chimney liner if you haven’t already – it provides an extra layer of protection and improves draft.
For gas fireplaces, have the gas lines inspected annually by a qualified professional. Keep the glass clean and check the seals regularly. If you smell gas, evacuate immediately and contact your gas company.
Remember to clean the hearth regularly and inspect the surrounding mantel and walls for signs of heat damage or discoloration. These could indicate ventilation problems or the need for additional heat shielding.
Building a fireplace is a rewarding project that can transform your living space and add significant value to your home. Throughout this guide, we’ve covered the essential aspects of fireplace construction, from initial planning and design to material selection and step-by-step building processes. Remember that proper planning is crucial – take time to research local building codes, obtain necessary permits, and carefully consider your space requirements.
Safety should always be your top priority. Double-check all measurements, ensure proper ventilation, and use appropriate fire-resistant materials. If you’re unsure about any aspect of the construction, don’t hesitate to consult with a professional. Regular maintenance and inspections will help ensure your fireplace remains safe and functional for years to come.
Before beginning construction, make sure you have all required materials and tools on hand. Follow the detailed plans precisely, paying special attention to clearance requirements and proper installation of the chimney system. Consider incorporating modern features like smart controls or efficient heating elements while maintaining traditional fireplace charm.
Finally, document your progress and keep all relevant permits and inspection records. A well-built fireplace will provide warmth, ambiance, and a gathering place for family and friends for many years to come. Whether you’re building a traditional wood-burning fireplace or a modern gas unit, following these guidelines will help ensure a successful and safe installation.
