How BIM Software Saves Interior Designers Thousands in Mistakes
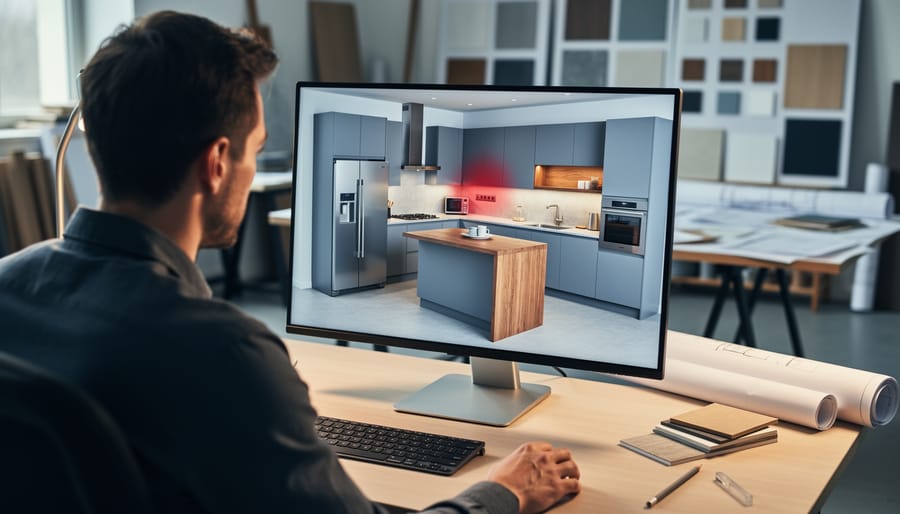
Building Information Modeling (BIM) transforms how interior designers plan and execute projects by creating intelligent 3D models that catch expensive mistakes before they happen. Instead of discovering that your dream kitchen layout blocks a crucial electrical panel during installation, BIM software reveals these conflicts on your screen weeks earlier, saving you thousands in renovation costs and contractor delays.
Think of BIM as your digital crystal ball for interior projects. Unlike traditional design software that simply draws pretty pictures, BIM tools understand the relationships between walls, furniture, lighting, and building systems. When you move a wall in your model, the software automatically adjusts connected elements, recalculates room dimensions, and flags potential problems like insufficient clearance or ventilation issues.
For homeowners tackling ambitious renovations, BIM eliminates the guesswork that typically leads to budget overruns. You’ll visualize exactly how that sectional sofa fits in your living room, whether your new island leaves enough kitchen workspace, and if your lighting plan actually illuminates where you need it. Interior design professionals use these same tools to deliver more accurate proposals, reduce revision rounds, and complete projects faster.
The learning curve might seem intimidating, but modern BIM platforms offer surprisingly intuitive interfaces designed for non-engineers. Many provide free versions perfect for exploring capabilities before committing to paid subscriptions. Whether you’re redesigning a single room or planning a whole-house transformation, understanding BIM tools gives you the clarity and confidence to make better design decisions from day one.
What Makes BIM Different from Regular Design Software
Think of traditional design software like taking photographs of your room from different angles. You might have a floor plan, some wall elevations, and maybe a pretty 3D rendering. Each view exists separately, like individual snapshots in a photo album. Change something in one view? You’ll need to manually update all the others to match.
BIM tools work completely differently. Instead of creating separate drawings, you’re building a digital replica of your actual space that knows what everything is and how it all connects. When you place a sofa in your BIM model, the software doesn’t just draw a rectangle. It understands “this is a sofa, it’s 84 inches long, weighs 150 pounds, costs $1,200, and sits 18 inches off the floor.” Change that sofa’s position in the floor plan, and it automatically updates in every other view instantly.
Here’s where it gets really practical. Let’s say you’re designing a kitchen remodel. With regular 3D interior design tools, you might create beautiful renderings but still need to manually calculate how many tiles you need or whether that new island will block the refrigerator door from opening fully. BIM software tracks all this automatically. It knows your floor area, counts your tiles, calculates material costs, and even flags potential problems like furniture blocking doorways.
The real magic happens when things change, because they always do. Move a wall in traditional software, and you’re redoing measurements, updating multiple drawings, and recalculating materials. In BIM, move that wall once and everything updates: square footage, material lists, even cost estimates. The model stays intelligent and coordinated throughout your entire project.
This isn’t just about fancy technology. It’s about catching expensive mistakes before they happen and making smarter decisions faster, whether you’re a professional designer managing multiple projects or a homeowner planning your dream renovation.
The Real-World Benefits You’ll Actually Notice
See Problems Before They Cost You Money
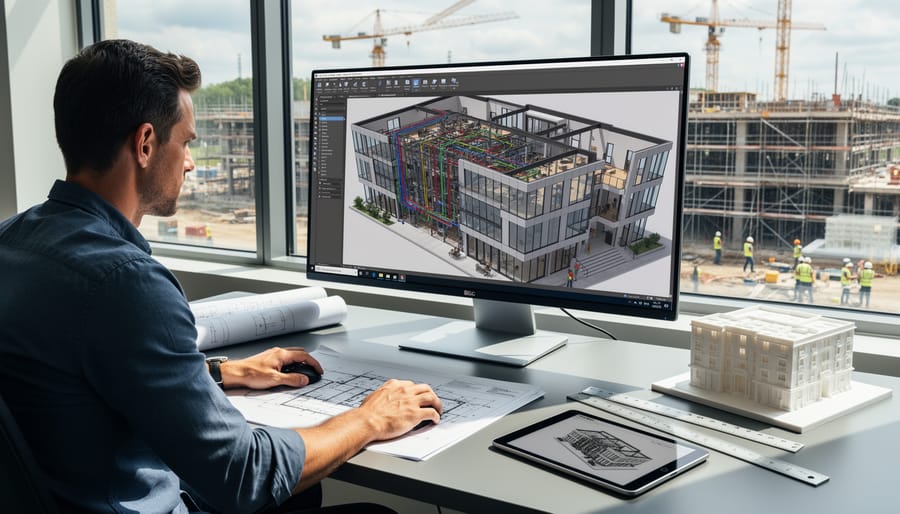
One of BIM’s most valuable superpowers is catching mistakes before they become expensive disasters. Think of it as a digital dress rehearsal for your space.
When you design in BIM, the software automatically detects spatial conflicts. That beautiful sectional sofa you’ve been eyeing? BIM will tell you if it actually blocks the hallway or prevents cabinet doors from opening fully. No more “oops, it looked smaller online” moments or costly furniture returns.
Lighting issues become obvious too. You can simulate how natural light moves through your space at different times of day, and see exactly where those dark corners will be. This means you’ll know if you need that extra pendant light or floor lamp before installation begins, not after you’ve already painted and furnished the room.
The technology also reveals clearance problems that drawings might miss. Will that new dining table leave enough room for chairs to pull out comfortably? Does the bedroom door swing into the dresser? BIM shows these real-world interactions in 3D.
For professionals, this means fewer change orders and happier clients. For DIY enthusiasts, it translates to staying on budget and avoiding those frustrating mid-project pivots that drain your wallet and enthusiasm.

Get Clients to Say Yes Faster
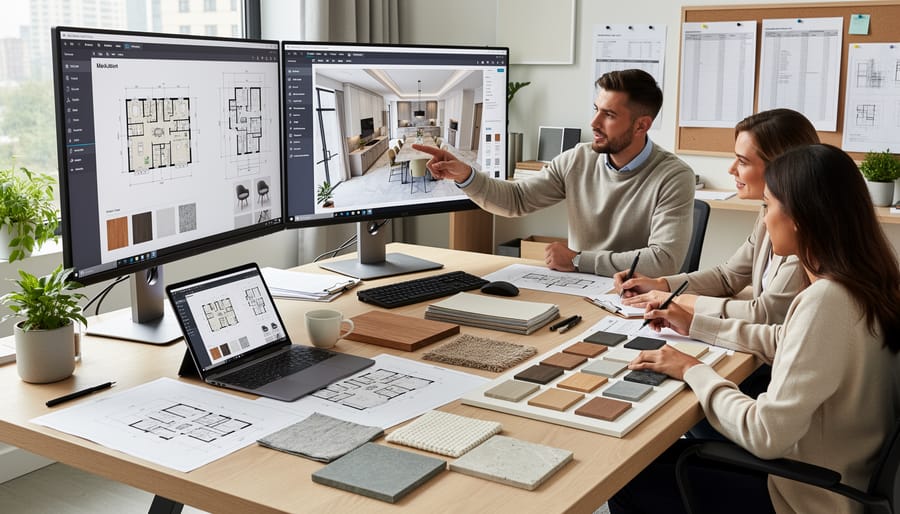
Picture this: instead of pointing at flat floor plans and asking your clients to imagine the finished space, you’re walking them through a fully rendered 3D model of their future home. That’s the magic of BIM’s 3D visualization tools. Clients can virtually stroll through rooms, see how natural light fills the space at different times of day, and understand exactly how furniture arrangements will work. This immediate clarity eliminates the guesswork and uncertainty that often slows down project approvals. When clients can see and experience your design vision in realistic detail, they feel confident moving forward. You’ll spend less time explaining concepts and more time finalizing decisions, which means faster approvals and happier clients who trust your expertise from day one.
Never Over-Order Materials Again
One of the biggest budget-busters in any renovation project? Ordering too much material and watching your money sit in a pile of unused supplies, or worse, ordering too little and facing delays and extra delivery fees. BIM tools eliminate this guessing game with automatic material takeoffs that calculate exactly what you need.
When you create your design in BIM software, the system tracks every element you add. Planning a kitchen backsplash? The software automatically calculates square footage, accounting for outlets and windows. Laying new flooring? It knows precisely how many planks or tiles you’ll need, including recommended waste percentages based on your installation pattern.
This accuracy connects beautifully with digital material libraries, where you can preview actual products while simultaneously getting accurate quantity estimates. The result? You order exactly what you need, reduce waste, and keep your budget on track from day one.
Top BIM Tools That Interior Designers Actually Use
SketchUp: The Gateway BIM Tool
If you’re new to BIM and want to dip your toes in without a steep learning curve, SketchUp is your perfect starting point. Think of it as the friendly introduction to 3D modeling that won’t intimidate you on day one.
What makes SketchUp particularly appealing is its free version, SketchUp Free, which runs right in your web browser. No expensive software investment required to get started. The interface is refreshingly intuitive compared to more complex BIM platforms, meaning you can create your first room layout within hours, not weeks.
For interior design projects, SketchUp truly shines with its extensive 3D Warehouse, a massive library of furniture, fixtures, and decorative elements created by users worldwide. Need that exact sofa you saw at IKEA? Chances are someone’s already modeled it and shared it for free. This saves you countless hours and lets you visualize real products in your space.
The tool integrates beautifully with interior design workflows. You can quickly sketch floor plans, experiment with furniture arrangements, and even add realistic materials and textures to walls and floors. While it’s not as robust as professional-grade BIM software, SketchUp offers the perfect balance of functionality and accessibility for homeowners planning renovations or designers working on residential projects.
Revit: The Professional Standard
When professionals talk about BIM, Revit is usually the first name that comes up. Developed by Autodesk, it’s the software you’ll find in most architectural firms and commercial design studios. Think of it as the industry’s gold standard for a reason.
Revit excels at handling complex commercial projects where precision matters most. It creates detailed 3D models that automatically update your floor plans, elevations, and schedules when you make changes. This means fewer errors and better coordination between designers, contractors, and clients. For interior designers working on office buildouts, retail spaces, or large residential renovations, this level of detail can be a game-changer.
Here’s the honest truth: Revit has a steep learning curve. You won’t master it in a weekend, and it requires a significant time investment upfront. The interface feels technical, and the software demands fairly powerful computer hardware to run smoothly. It’s also the most expensive option, typically requiring a subscription that costs several hundred dollars annually.
Should you learn it? If you’re a professional interior designer working on commercial projects or collaborating with architects and engineers, absolutely. The industry expects it, and clients appreciate the professionalism it brings to presentations. For DIY homeowners or designers focusing solely on residential interiors, however, the investment might outweigh the benefits.
ArchiCAD: Designer-Friendly Alternative
If you find Revit a bit overwhelming, ArchiCAD might be your perfect match. This BIM software has earned a reputation for being significantly more designer-friendly, with an interface that feels natural from day one. You won’t spend weeks just figuring out where everything is.
What really sets ArchiCAD apart is its exceptional visualization capabilities. The software excels at creating stunning 3D renderings and walkthroughs that help clients truly see your vision before any work begins. This is incredibly valuable when presenting design concepts to homeowners who might struggle with traditional blueprints.
ArchiCAD strikes a nice balance between power and usability, making it ideal for growing design practices that need professional-grade tools without the steep learning curve. The software handles residential projects beautifully, and many interior designers appreciate how it streamlines the process of creating detailed floor plans and elevations.
While it’s less common in the United States compared to Revit, ArchiCAD has a devoted following internationally. The pricing sits in the mid-range, typically around $2,500 to $4,000 for a permanent license, which represents a solid investment for serious professionals ready to elevate their design workflow.
Chief Architect: Built for Residential Design
If you’re primarily focused on residential projects, Chief Architect deserves a serious look. This software was designed specifically with home design in mind, making it an excellent choice for interior designers working on residential spaces, real estate professionals, and ambitious homeowners tackling major renovations.
What sets Chief Architect apart is its gentler learning curve compared to more industrial-focused BIM tools. The interface feels intuitive for residential work, so you won’t spend months just figuring out the basics. Many users report feeling comfortable creating basic floor plans and 3D visualizations within their first week.
The real gem here is the extensive library of residential materials and fixtures. You’ll find thousands of pre-loaded items like cabinets, countertops, flooring options, and furniture that are actually used in homes, not just generic placeholders. This saves countless hours of modeling and lets you focus on design decisions rather than technical drawing.
Chief Architect also excels at generating construction documents and material lists, which is incredibly helpful when working with contractors or planning your budget. The automatic roof framing and foundation tools handle the complex structural elements that often intimidate beginners, letting you concentrate on making spaces beautiful and functional.
Free and Budget Options Worth Trying
Not ready to invest yet? FreeCAD offers basic BIM capabilities at zero cost, perfect for simple home projects and learning the ropes. Sweet Home 3D provides an intuitive platform for straightforward interior layouts without overwhelming features. Most professional BIM tools also offer free trials—typically 30 days—so you can test-drive before committing. This hands-on experience helps you determine which interface feels most natural and whether the learning curve fits your timeline and project needs.
Getting Started Without Feeling Overwhelmed
Start with One Room, Not Your Whole House
Think of learning BIM tools like learning to cook—you wouldn’t start with a five-course dinner party. Pick a single room in your home, preferably something small like a powder room or home office. This approach lets you experiment without feeling overwhelmed by too many measurements, materials, and decisions.
Start by measuring your chosen space and creating a simple floor plan in your selected BIM tool. Focus on getting comfortable with basic features like drawing walls, adding doors and windows, and placing furniture. Many tools offer tutorial projects specifically designed for beginners—take advantage of these.
As you work through your first room, you’ll naturally discover which features matter most to you. Maybe you’ll realize accurate lighting simulation is crucial, or perhaps material cost tracking becomes your favorite feature. This hands-on experience with a manageable project builds confidence and skills you’ll use when tackling larger spaces. Plus, if you make mistakes, they’re contained to one room rather than affecting your entire home design.
Free Learning Resources That Don’t Waste Your Time
Learning BIM doesn’t have to mean expensive courses. Start with the official YouTube channels from SketchUp, Revit, and Chief Architect—they offer free tutorials that walk you through real projects step-by-step. These aren’t boring lecture videos; they’re practical demonstrations you can follow along with while designing your own space.
The Revit Pure channel is a hidden gem for beginners, breaking down complex concepts into 10-minute videos that actually make sense. For SketchUp users, TheSketchUpEssentials covers everything from basic navigation to creating custom furniture.
Don’t overlook community forums like the SketchUp Community Forum and Autodesk Community. Real users share their solutions to everyday problems, which is often more helpful than official documentation. You’ll find answers to specific questions like “How do I create a curved wall?” or “Why won’t my materials render correctly?”
Pro tip: Join Facebook groups dedicated to your chosen BIM tool. Members regularly share free templates, custom components, and shortcuts that’ll save you hours of work. The key is finding resources that respect your time and get you creating quickly.
The 80/20 of BIM: Essential Features to Master First
Good news: you don’t need to master every single BIM feature to transform your design workflow. Following the classic 80/20 rule, focusing on just a handful of core functions will cover most of your daily design needs.
Start with walls—the foundation of any space. Learning to draw, adjust heights, and modify wall types will take you surprisingly far. Next, tackle doors and windows. These openings define how light flows and how people move through spaces, making them critical for functional design.
Once you’ve got your shell, furniture placement becomes your playground. Most BIM tools offer drag-and-drop libraries with thousands of pre-built items—sofas, tables, lighting fixtures—that you can position and rearrange until everything feels just right. This is where your design really comes to life.
Finally, invest time in basic rendering. Even simple renderings help clients visualize your vision far better than floor plans alone. Most beginner-friendly tools offer one-click rendering options that produce impressive results without complex settings.
Master these five features first, and you’ll handle 80% of typical interior design projects confidently. The advanced stuff—parametric modeling, clash detection, detailed specifications—can wait until you’ve built a solid foundation with the essentials.
Common Pitfalls and How to Avoid Them
Starting with BIM tools can feel overwhelming, and many beginners stumble over the same hurdles. The good news? These pitfalls are completely avoidable once you know what to watch for.
One of the biggest mistakes is jumping into an overly ambitious first project. You might be excited to redesign your entire home in 3D, but starting with something simple like a single bathroom or bedroom renovation will help you learn the basics without frustration. Think of it like learning to cook—you wouldn’t attempt a five-course meal on day one.
Another common issue is ignoring software updates. Those update notifications aren’t just annoying pop-ups; they often include important bug fixes, new features, and compatibility improvements that make your experience smoother. Set aside time monthly to update your tools and check for new tutorials or features.
Backing up your files might seem obvious, but you’d be surprised how many people lose hours of work to a computer crash or accidental deletion. Use cloud storage or an external hard drive to save your projects regularly. Most BIM tools have auto-save features—make sure they’re enabled.
Many beginners also choose overly complex professional-grade software when simpler options would work perfectly for their needs. If you’re planning a simple room refresh, you don’t need enterprise-level tools designed for commercial architects. Match the tool to your project scope.
Finally, perfectionism paralysis stops many people before they even start. Your first few projects won’t be perfect, and that’s completely fine. The learning curve exists for everyone. Start experimenting, make mistakes, and remember that every professional was once a beginner too.
Here’s the truth: BIM tools do require an upfront investment of time and energy to learn. But once you climb that initial learning curve, they become your safety net against expensive mistakes that can derail your entire project. Think about it—catching a plumbing conflict before the walls go up, or realizing your dream kitchen layout blocks a crucial electrical panel before you order custom cabinets. These tools pay for themselves the moment they prevent just one costly error.
If you’re feeling overwhelmed, start small. Many platforms offer free trials or basic versions that let you test the waters without commitment. Dedicate a weekend to learning the fundamentals, watch a few tutorials, and experiment with a simple room layout. You don’t need to master everything at once.
The beautiful thing about BIM technology is that it meets you where you are. Whether you’re a homeowner planning a single renovation or a designer managing multiple client projects, the time you invest now multiplies into savings on every future project. That first moment when your BIM model catches a design conflict you would have missed? That’s when you’ll know the investment was worth every minute.
