Build a Powerful Water Filter Without Charcoal (Using Common Household Items)
Transform your home’s water quality with a DIY filtration system that rivals traditional charcoal-based filters. Using readily available materials like gravel, sand, and cotton fabric, you can construct a highly effective water filter that removes sediment, bacteria, and common contaminants. This sustainable solution not only saves money but also gives you complete control over your water purification process, making it ideal for both everyday use and emergency preparedness.
The beauty of building your own water filter lies in its simplicity and effectiveness. Whether you’re looking to improve your tap water quality, create a backup system for emergencies, or simply explore eco-friendly alternatives to commercial filters, this DIY approach offers a practical, science-backed solution that delivers clean, safe drinking water. Best of all, you can customize the filtration layers based on your specific water quality needs and local contaminants.
Alternative Filtration Materials You Already Have
Sand and Gravel Components
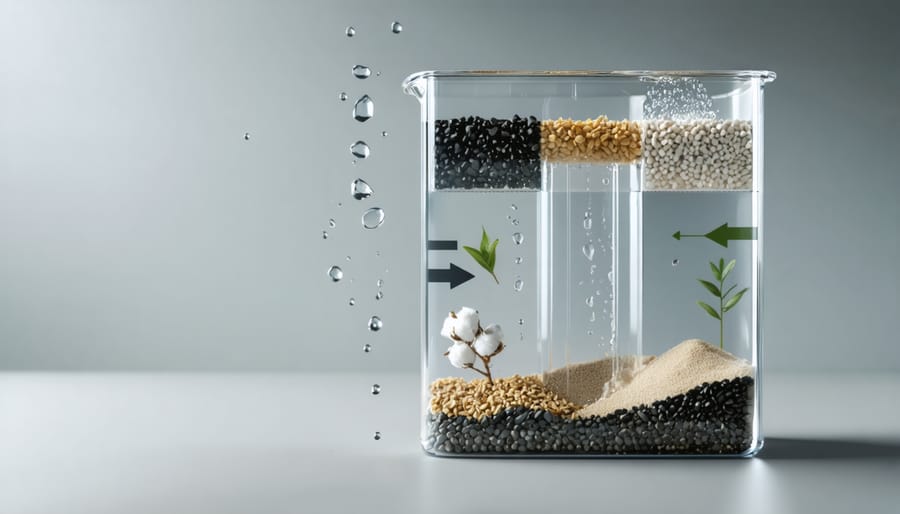
The foundation of an effective water filter lies in selecting the right sand and gravel components. You’ll need three distinct layers: coarse gravel, fine gravel, and sand. The bottom layer should consist of coarse gravel (about 1-2 inches in diameter), which provides structural support and prevents larger particles from clogging the system. Above this, use fine gravel (approximately 1/4 to 1/2 inch in diameter) to create a transition zone that stops the sand from mixing with the coarse gravel.
The top layer requires clean, fine sand (0.5-1mm grain size), which does most of the heavy lifting in terms of filtration. Pool filter sand works excellently, but you can also use cleaned river sand. Before using any materials, thoroughly wash them to remove dirt and debris. Place each layer carefully to maintain distinct boundaries between them, which is crucial for proper filtration.
For optimal results, aim for these proportions: 3 inches of coarse gravel at the bottom, 2 inches of fine gravel in the middle, and 6-8 inches of sand at the top. This combination ensures effective filtration while maintaining good water flow.

Cotton and Fabric Options
When selecting fabric for your water filter, cotton materials are particularly effective due to their dense fiber structure. Tightly woven cotton cloth, such as clean t-shirts or pillowcases, works well as a pre-filter layer to catch larger particles. Coffee filters are another excellent option, as they’re designed specifically for filtration and are readily available in most homes.
For best results, use multiple layers of fabric, starting with a looser weave on top and progressively tighter weaves below. Clean muslin cloth, cheesecloth, or cotton bandanas can serve as excellent filtration layers. Always ensure your fabric choices are clean, unbleached, and free from any chemical treatments or dyes that could contaminate the water.
Remember to wash all fabric materials thoroughly before use and replace them regularly to maintain effective filtration. Cotton batting or cotton balls can also be incorporated between layers for additional filtering capacity.
Building Your Filter Container
Container Selection and Preparation
When building your water filter, selecting the right container is crucial for success, just like with other DIY home projects. Choose a clear plastic or glass container that’s at least 12 inches tall and 4-6 inches in diameter. Two-liter soda bottles work perfectly, but you can also use large mason jars or food-grade plastic containers.
Before using your container, thoroughly clean it with hot, soapy water and rinse well. If using a plastic bottle, carefully cut off the bottom to create your filter housing. For other containers, drill or cut small drainage holes in the bottom, spacing them evenly about half an inch apart.
Consider adding a tight-fitting lid with a small opening for the filtered water to flow through. This helps prevent contamination and makes the filter more efficient. If using multiple containers, ensure they stack securely to prevent spills and maintain proper filtration flow.
Always inspect your container for cracks or damage before use, as these could compromise the filter’s effectiveness and cause leaks.
Creating Proper Drainage
Proper drainage is crucial for your water filter’s effectiveness. Start by drilling 6-8 small holes (about 1/8 inch in diameter) in the bottom of your container using a power drill or heated nail. Space these holes evenly to ensure balanced water flow. To prevent fine filter materials from leaking through these holes, cut a piece of fine mesh screen or coffee filter to fit the bottom of your container.
Place the mesh or filter material over the drainage holes and secure it with waterproof adhesive or hot glue around the edges. This creates a barrier that allows water to pass through while keeping your filter materials in place. For extra protection against material leakage, add a thin layer of small pebbles or aquarium gravel over the mesh.
Test your drainage system by running clean water through the container before adding filter materials. The water should flow steadily without pooling. If water drains too slowly, consider adding a few more holes. If materials still leak through, add another layer of mesh or use a finer screen material.
Layer-by-Layer Assembly
Bottom Layer Setup
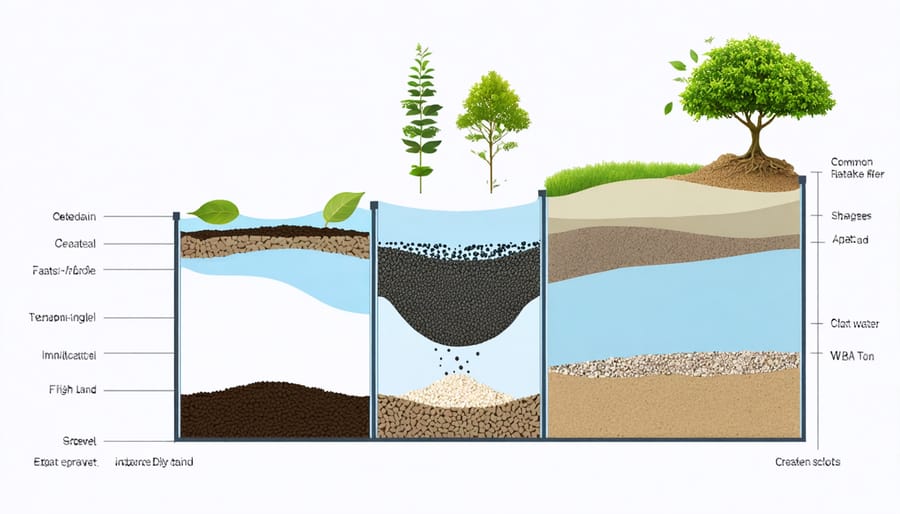
Begin by placing a layer of clean gravel at the bottom of your container. This layer should be about 2-3 inches thick and consist of stones roughly the size of marbles. Make sure to wash the gravel thoroughly before use to remove any dirt or debris that could contaminate your filtered water.
Next, add a thin layer of fine mesh or a piece of clean cotton cloth over the gravel. This prevents the sand from mixing with the gravel and maintains distinct filtration layers. Press the cloth gently against the sides of the container to secure it in place.
For extra filtration efficiency, consider adding a layer of fine gravel or pebbles between the larger gravel and the cloth. This creates a gradual transition between particle sizes and helps prevent clogging. Ensure all materials are evenly distributed and level before moving on to the next layer.
Remember to leave enough space above this bottom layer for the remaining filtration materials. A well-structured bottom layer is crucial as it supports all subsequent layers while allowing clean water to flow through efficiently.
Middle and Top Layer Construction
After setting up your base layer, it’s time to build the crucial middle and top layers of your water filter. Start by adding a 2-inch layer of fine sand directly on top of your gravel. Make sure to spread it evenly to prevent any gaps or channels that could compromise filtration efficiency.
Next, add a layer of activated charcoal if you’re using it, or proceed with another 2-inch layer of coarse sand. This layering creates a gradient that helps trap particles of different sizes as water moves through the filter. Pat each layer gently with a spoon to ensure it’s settled but not compacted too tightly.
For the top layer, add another inch of fine sand followed by a thin layer of cotton or coffee filter. This final barrier catches any remaining fine particles and helps maintain the separation between layers. Leave about 2-3 inches of space at the top of your container for water to pool.
Pro tip: When adding new layers, pour them slowly and carefully to avoid disturbing the layers beneath. You can use the back of a spoon to help spread materials evenly. If you notice any mixing between layers, simply add a bit more of the disturbed material to maintain proper separation.
Remember to rinse your filter system with clean water before use. This helps settle the materials and removes any loose particles. The first few batches of filtered water might appear cloudy – this is normal and will clear up after a few uses as the filter materials settle into place.
Testing and Maintenance
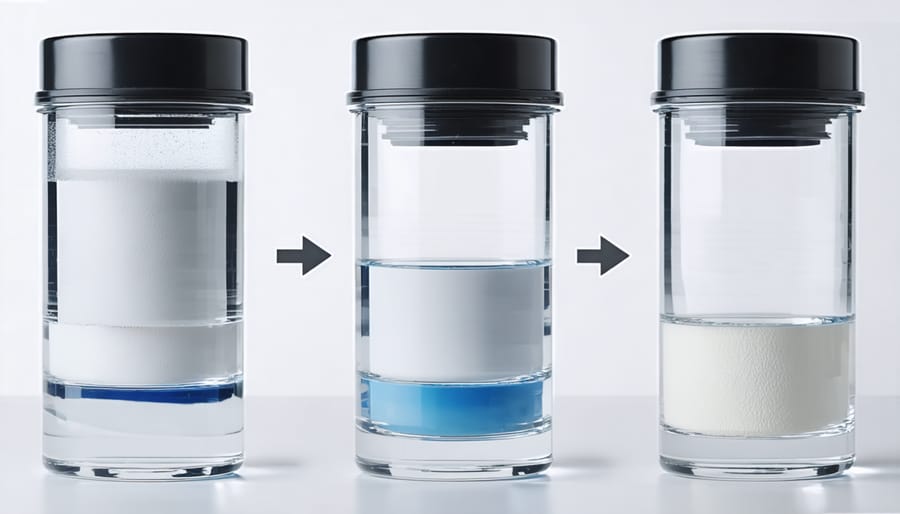
Regular testing is crucial to ensure your DIY water filter continues to provide clean, safe water. Start by conducting a weekly visual inspection of your filter components, checking for any signs of wear, clogging, or discoloration. If you notice any unusual odors or tastes in the filtered water, this may indicate it’s time for maintenance.
To test filtration effectiveness, use water testing strips available at most hardware stores. These will help monitor pH levels, chlorine content, and the presence of contaminants. Compare the results with those of unfiltered water to gauge your filter’s performance. While DIY filters are practical solutions, they should be part of your broader consideration of safe water filtration options.
For maintenance, clean or replace the filter media every 2-3 months, depending on usage and water quality. Rinse the container thoroughly with hot water and mild soap, ensuring all components are completely dry before reassembly. Pay special attention to the cotton layers and fine mesh, as these tend to accumulate particles first.
Keep a maintenance log to track cleaning dates and water test results. This helps identify patterns in filter performance and ensures timely media replacement. If you notice a significant decrease in flow rate, it’s usually a sign that the filter needs cleaning or replacement.
Building your own water filter is a rewarding project that can provide cleaner water while saving money. Remember to regularly maintain your filter system by cleaning or replacing components as needed. Always test your filtered water before drinking, and consider having it professionally analyzed for safety. While DIY filters are excellent for removing sediment and some contaminants, they may not eliminate all harmful substances. For absolute safety, combine your homemade filter with other purification methods like boiling or UV treatment. Keep your filter components clean and sanitized, and monitor the water quality regularly. With proper maintenance and attention to safety, your DIY water filter can be an effective solution for cleaner, better-tasting water.
