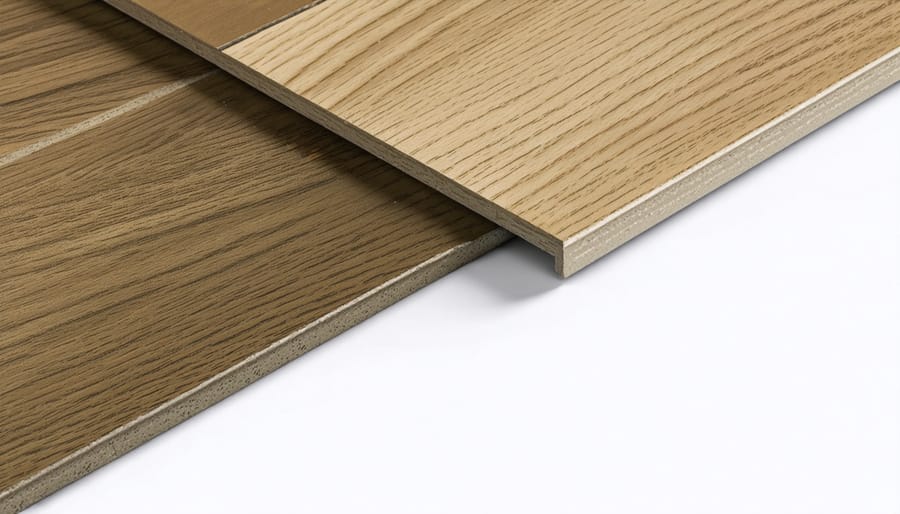
T-Moulding Success: Perfect Transitions for Your Uneven Floors
Transform uneven floor transitions into seamless connections with T-moulding, the versatile trim solution that bridges height differences up to 3/4 inch between flooring surfaces. Master installers and DIY experts rely on T-moulding not just for its practical gap-covering abilities, but for its power to create professional-looking transitions across challenging floor variations. Whether you’re connecting hardwood to laminate or managing height discrepancies between rooms, proper T-moulding installation requires precise measurement, careful floor preparation, and the right installation technique. This guide walks you through proven methods to achieve perfectly smooth transitions, even when dealing with significant floor height differences or substrate irregularities. From selecting the correct T-moulding profile to mastering the installation process, you’ll discover how to create durable, attractive floor transitions that stand the test of time.
Understanding T-Moulding and Floor Level Variations
Types of T-Moulding Available
T-moulding comes in various materials and styles to suit different flooring situations and aesthetic preferences. The most common material is PVC (vinyl), which offers excellent flexibility and durability while being budget-friendly. Aluminum t-moulding provides superior strength and longevity, making it ideal for high-traffic commercial areas. For a more luxurious look, solid wood t-moulding matches perfectly with hardwood floors and offers timeless appeal.
Many manufacturers now offer adjustable t-moulding specifically designed for uneven floors, featuring flexible bases or adjustable height mechanisms. These specialized versions typically come with additional rubber gaskets or foam backing to help bridge height differences up to 3/4 inch.
Color-matched t-moulding is available to complement popular flooring options, from classic oak and maple to modern gray and whitewashed finishes. Some varieties also feature textured surfaces for improved grip and safety, particularly useful in commercial settings or areas prone to moisture.

Common Floor Level Problems
When dealing with uneven floors between rooms, you’ll typically encounter several common scenarios. The most frequent issue is height discrepancy between adjacent rooms, often caused by different flooring materials or subfloor variations. Another common problem is gradual slopes or dips in the floor surface, which can create gaps under the t-moulding. You might also face uneven concrete subfloors, particularly in older homes or basements, where settling has occurred over time. Transitions between different flooring types, such as hardwood to tile or carpet to vinyl, often present height differences that need addressing. Sometimes, you’ll encounter floor damage or wear patterns that have created irregular surfaces. Understanding these typical problems is crucial for selecting the right t-moulding solution and installation method for your specific situation.
Preparing for Installation
Required Tools and Materials
Before starting your t-moulding installation project for uneven floors, gather these essential tools and materials:
Tools:
– Tape measure
– Pencil and notepad
– Level (preferably 4-foot)
– Electric drill with various drill bits
– Circular saw or hand saw
– Rubber mallet
– Utility knife
– Safety glasses
– Work gloves
– Dust mask
– Vacuum cleaner
– Putty knife
Materials:
– T-moulding strips (measure your doorways first)
– Track or mounting channel
– Wood shims (various sizes)
– Wood filler or floor leveling compound
– Construction adhesive
– Screws appropriate for your subfloor
– Cleaning supplies
– Sandpaper (medium and fine grit)
– Rags or paper towels
Optional but helpful:
– Laser level
– Moisture meter
– Heat gun (for vinyl or rubber t-moulding)
– Small pry bar
– Knee pads for comfort
Remember to choose t-moulding that matches your flooring material and color. Having extra materials on hand is always recommended to account for unexpected challenges or mistakes during installation.

Measuring and Assessment
Before installing t-moulding on uneven floors, accurate measurement is crucial for a successful installation. Start by laying a long level or straight edge across the floor transition area. Use a tape measure to check the gap between the level and the lower floor surface at various points – this will tell you the maximum height difference you need to accommodate.
For precise measurements, consider using a digital laser level, which can provide exact readings of floor height variations. Take measurements every 6-8 inches along the transition area to create a detailed map of the floor’s contours. Pay special attention to sudden dips or rises, as these will require additional attention during installation.
Make note of both the height difference and the overall width of the transition area. Most t-mouldings can handle height variations up to 3/4 inch, but larger differences may require a reducer or special transition strip. Document these measurements and take photos if possible – they’ll be invaluable when selecting the right t-moulding and planning your installation approach.
Remember to measure the entire length of the transition area, as height differences can vary significantly from one end to the other.
Installation Techniques for Uneven Floors
Shimming Methods
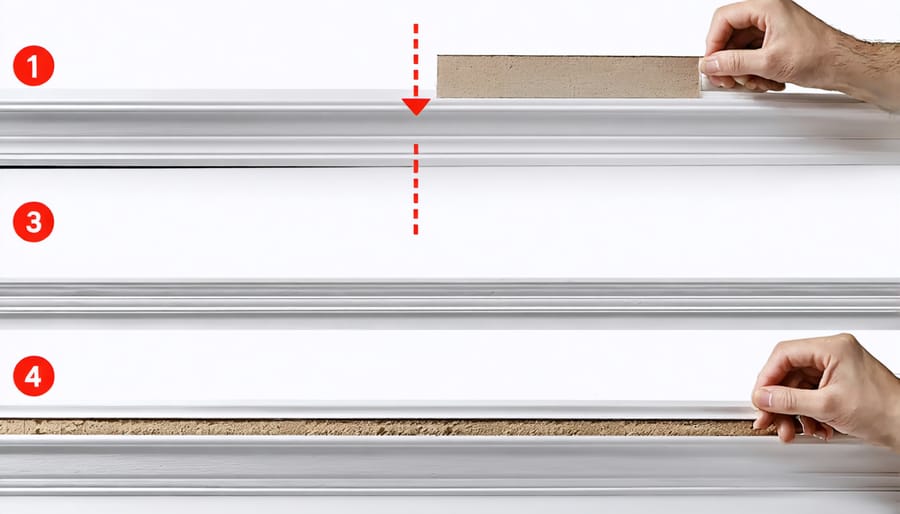
Shimming is a crucial technique for achieving a level surface when installing t-moulding over uneven floors. Start by identifying low spots along the transition area using a level or straight edge. Wood shims are the most common solution, offering durability and easy customization. For precise adjustments, use thin wooden wedges or composite shims that can be stacked to achieve the desired height.
When placing shims, work in small sections and ensure they extend slightly beyond the t-moulding’s width. Cut the shims to size using a utility knife or saw, leaving about 1/8 inch extra for fine-tuning. Space your shims every 6-8 inches along the track to provide consistent support. For larger gaps, consider using multiple shims stacked together, but avoid exceeding three layers to maintain stability.
Always secure your shims with construction adhesive to prevent movement over time. Once the adhesive has dried, trim any protruding edges flush with the track using a sharp utility knife. For metal tracks, you may need to pre-drill small holes through the shims to ensure proper screw attachment.
In areas with significant unevenness, consider using self-leveling compound before shimming. This creates a more stable base and reduces the number of shims needed. Remember to test the t-moulding’s fit frequently during the shimming process to ensure a smooth, level transition.
Track Adjustment Techniques
When dealing with uneven floors, proper track adjustment is crucial for a successful t-moulding installation. Start by dry-fitting the track along your transition area to identify high and low spots. For minor variations, you can use a rubber mallet to gently tap the track into place, ensuring it maintains contact with the subfloor.
For more significant floor irregularities, consider fixing floor thresholds by shimming underneath the track. Cut small wedges from thin wood or plastic shims and place them under low spots to create a level surface. Secure these shims with construction adhesive before attaching the track.
If you encounter large gaps, you may need to customize the track itself. Use a utility knife to score vertical relief cuts on the bottom of the track, allowing it to flex and conform to the floor’s contours. Space these cuts about 2-3 inches apart in problem areas. For severe cases, consider using a flexible track specifically designed for uneven surfaces, which offers better adaptability while maintaining a secure grip on your flooring materials.
Securing the T-Moulding
Once you’ve properly aligned the t-moulding, it’s time to secure it in place. Start by pre-drilling holes along the track at approximately 12-inch intervals, ensuring you drill through both the track and the subfloor. Use flathead screws that match your track’s material – stainless steel screws work best for most applications.
For uneven areas, you may need to add extra securing points to ensure the moulding stays flush with both floor surfaces. Apply a small bead of construction adhesive underneath the t-moulding’s legs before pressing it into the track. This additional step provides extra stability on uneven surfaces.
When installing over concrete, use masonry anchors instead of standard screws. Tap the t-moulding firmly into place using a rubber mallet, working from one end to the other. For extremely uneven areas, consider using flexible caulk in the gaps beneath the t-moulding to prevent movement and rattling.
Finally, wipe away any excess adhesive immediately and allow the installation to set for 24 hours before subjecting it to heavy foot traffic.
Troubleshooting Common Issues
When installing t-moulding on uneven floors, you might encounter several common challenges. Here’s how to address them effectively:
If your t-moulding doesn’t sit flush with the floor, check the track’s installation depth. Sometimes, adjusting the depth by adding thin strips of wood or removing material from the track can help achieve a better fit. For severe sagging floor issues, you may need to address the underlying structural problems before proceeding.
Gaps between the t-moulding and flooring surfaces are another frequent issue. Fill small gaps using color-matched caulk or wood filler. For larger gaps, consider using a wider t-moulding profile or installing a custom transition piece.
If your t-moulding keeps popping up, the track might not be properly secured. Remove the moulding and add more screws to the track, ensuring they’re spaced every 8-10 inches. Also, check that the track isn’t damaged or warped.
When dealing with height differences, use a reducer strip beneath the t-moulding to create a smooth transition. For significant variations, you may need to install a custom-cut wooden threshold before applying the t-moulding.
Remember to always acclimate your t-moulding to room temperature for 48 hours before installation to prevent future warping or separation issues.
Successfully installing t-moulding on uneven floors requires careful preparation, the right tools, and attention to detail. Remember to always start with a thorough floor assessment and proper subfloor preparation. Using a level and gap filler is essential for creating an even surface before installation. When installing, work in small sections and regularly check your progress to ensure proper alignment. Don’t rush the process – taking time to make precise cuts and secure attachments will lead to better results. For the best outcome, consider using flexible t-moulding options designed specifically for uneven surfaces, and always maintain proper room temperature during installation. If you encounter significant floor height differences, don’t hesitate to consult a professional for guidance. With patience and these key techniques, you can achieve a smooth, professional-looking transition between your flooring surfaces.
